Author: Robert Andrews
Secrets to a Great Stir Fry
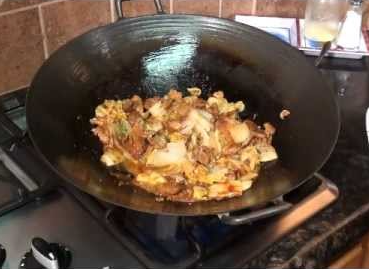
The first secret is heat. Lots and lots of heat.
An infrared thermometer will help you here. ThermaWorks has one that I’ve purchased and have been very happy with. At just under $50 it seems a bit pricey, but I guarantee that this will change the level of your cooking.
 185º Perfect Hard Boiled Eggs
220º Marmalade
285º Slow cook meats
300º English Muffins
310º Hard Crack Candies
325º Fried Eggs
350º Pancakes
400º Hashed browns
450º Stir Fries
MIS en PLACE
This means get things ready, because at 450º things happen really quickly. Have all items sliced, diced and julienned before you even put oil into your wok.
Chill meat 20 minutes in the freezer before cutting. This will help you with really thinly sliced meat
COOK HOT and COOK FAST
Hot pan, cold oil. You can also use a popcorn kernel, which explodes at about 350º
I have a cast iron wok that I use, but it’s not necessary. A large cast iron skillet will work equally as well. Cast iron holds the heat better than thinner skillets, although they will work too. Adding ingredients will drop the temperature of your skillet, so wait a few moments between adding ingredients. Also, don’t overcrowd your pan or your food will steam rather than sear. Remove your protein while you finish your veggies.
Use oil with a high smoke point, such as sesame oil. Also consider your cooking time. Carrots cook longer than cabbage.
Add the meat and sauce back in right at the end. This will only take a few seconds to finish.
A note about cleanup: NEVER immerse (or fill) your cast iron into water or use detergent. For stubborn food particles, use coarse salt.
- Aromatics into the pan first and cook 60 seconds
- Hard veggies, salt and pepper in next, and cook four minutes
- Soft veggies in, and cook one minute
- Cabbage and green onions for one minute
- Rice wine vinegar and herbs in last
- Stir to combine and serve immediately.
- Serve with pickled ginger or shichimi togarashi
Party Pasta Salad
 Cooked ingredients
Three different colors of Rotini Pasta (cooked)
– 1/2 cup each before cooking)
1/2 C egg noodles or spinach pasta – cooked
Knife work
1/2 C halved cherry tomatoes or sun dried tomatoes
1/4 C halved pepperoni (optional)
1/4 C pieces of salami (optional)
1/4 C cheese – cubed
1/2 stalk celery – thinly sliced
1/4 C Red Bell Pepper – diced or julienne strips
1/4 C Green or Yellow Bell Pepper – diced or julienne strips
1/4 sweet onion – julienne strips
1/4 red onion – julienne strips
1/4 C black olives – halved
2 cloves garlic – shaved or minced
Just pour it in
1/2 C Italian Dressing
1 TBL EVOO
1 TBL sugar
1/2 tsp salt
1/2 tsp oregano
Top with shaved Parmesan Cheese
If you don’t have some of the above ingredients, that’s OK. This is a party!
Sodium Benzoate or Fruit Fresh as a preservative
Roasted Provolone
Use approx 6 ounces (two cups) Provolone cheese cut into 1/2 inch pieces
Toss with 1/4 C shredded Parmesan cheese and 1/2 C cubed Mozzarella cheese
Add a pinch of oregano and a drizzle of olive oil
Preheat broiler to high and put cheese into an ovenproof ramekin or cast iron skillet
Broil until browned and bubbling (about 8-10 minutes.
Transfer to a plate lined with several paper towels or a nice kitchen cloth
Season with oregano an other favorite toppings (such as crumbled bacon or more shaved Parmesan).
Serve hot with toast

(Photo from Bon Appetit Magazine and La Huella, Uruguay)
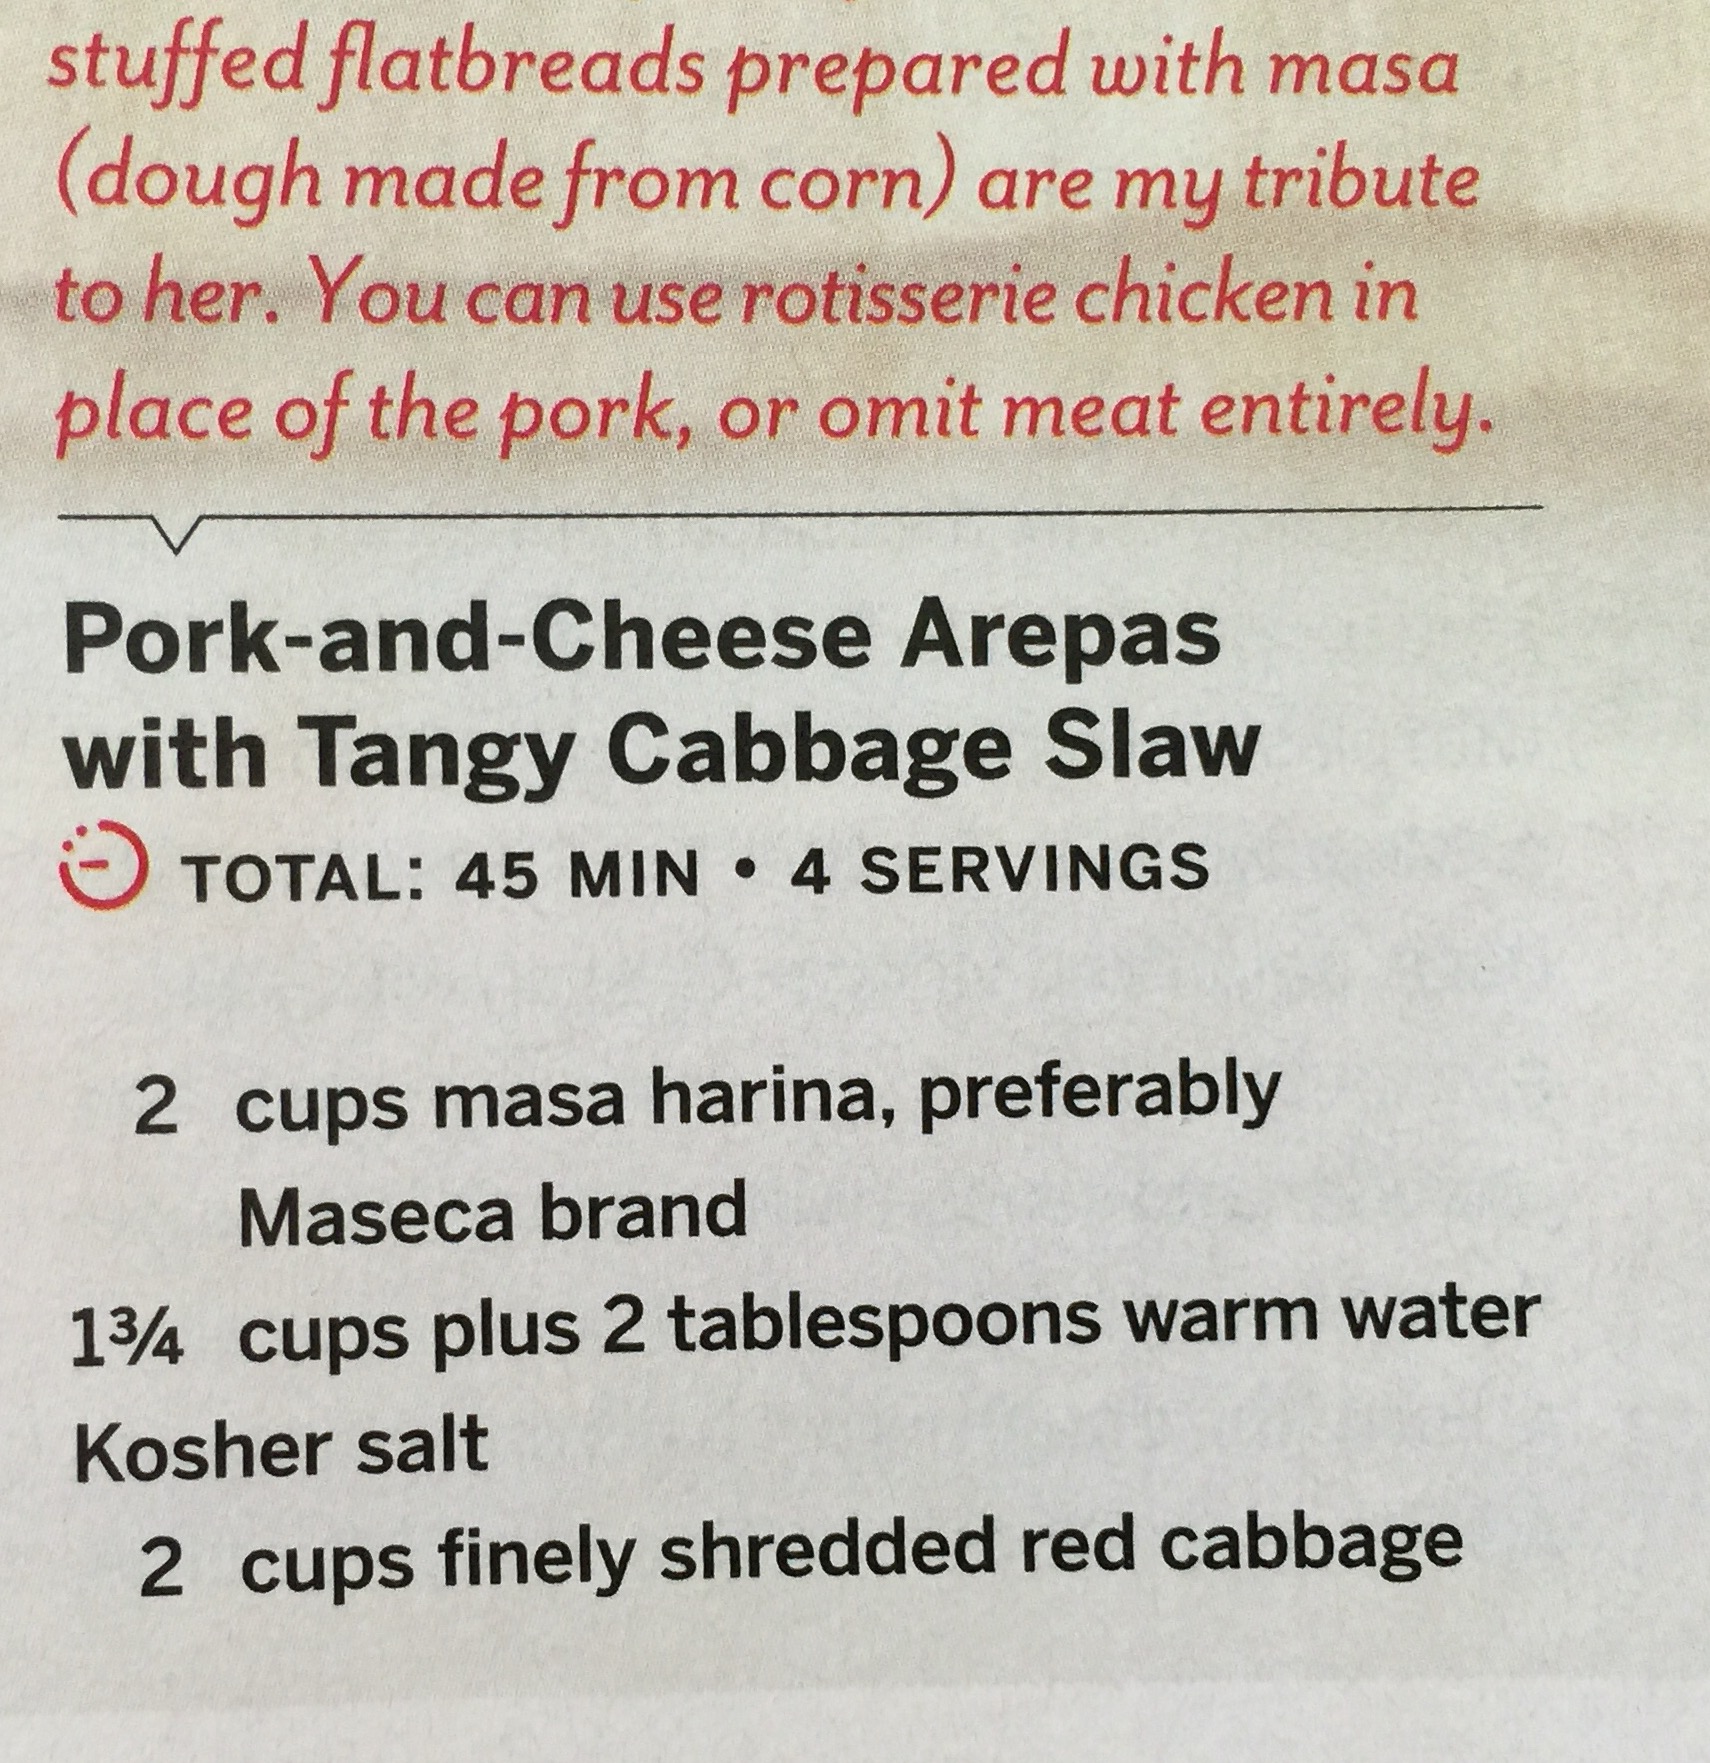
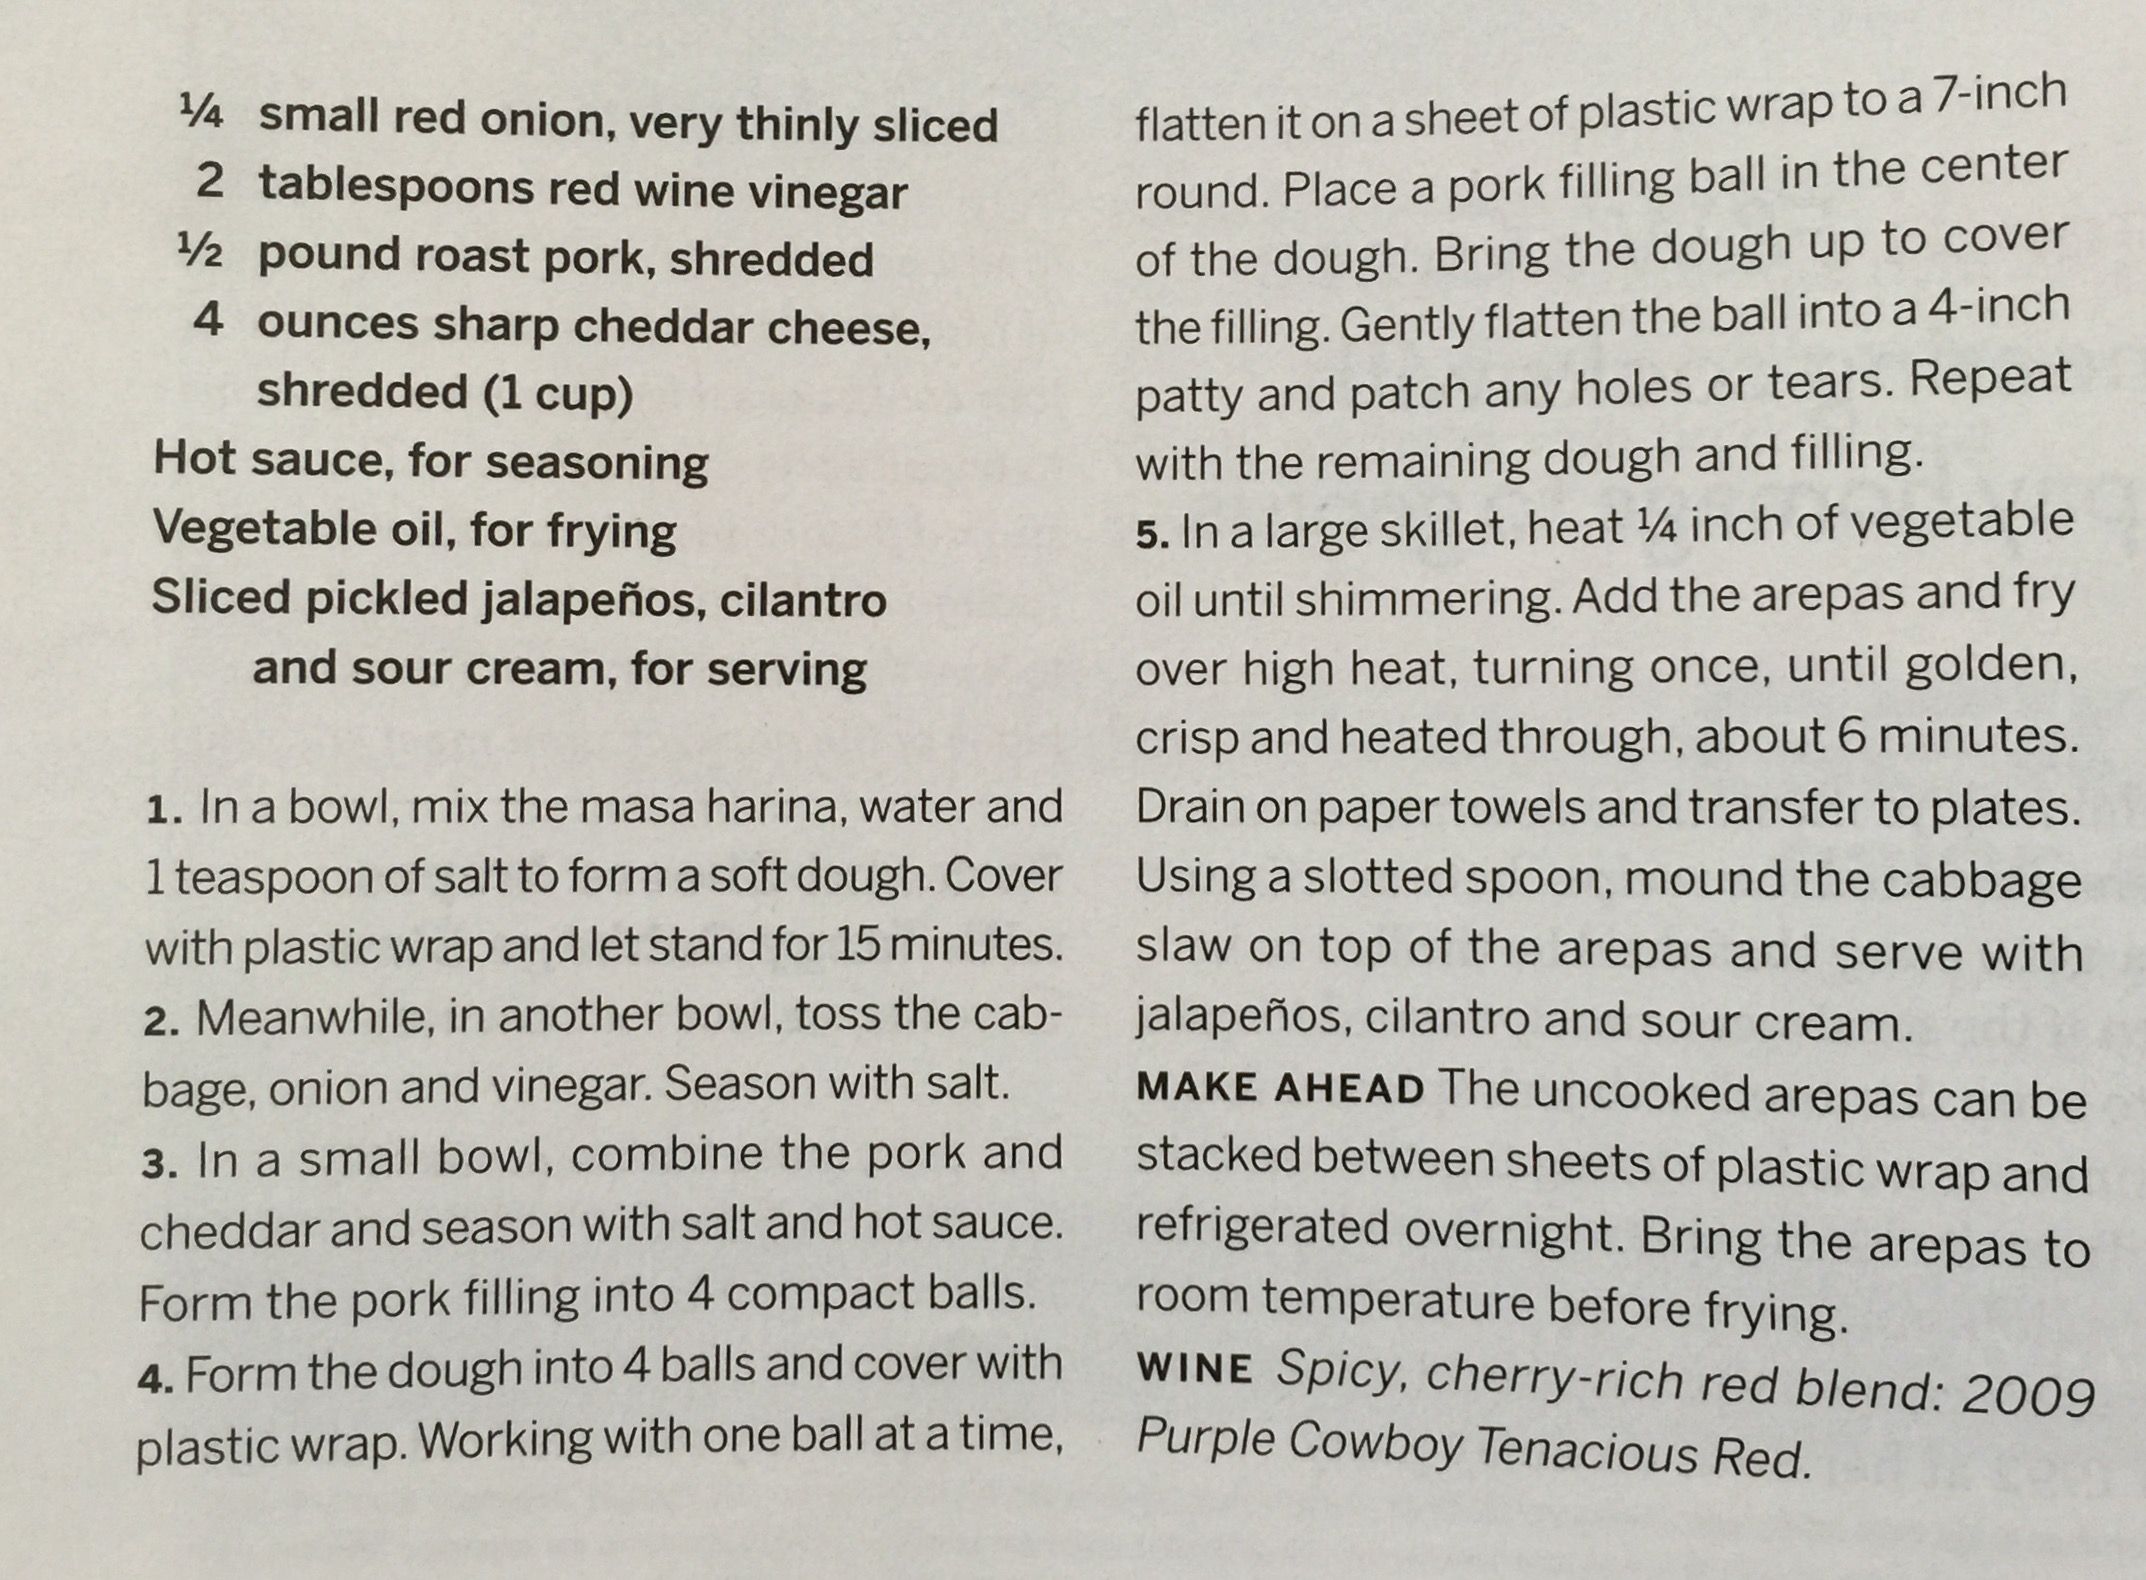
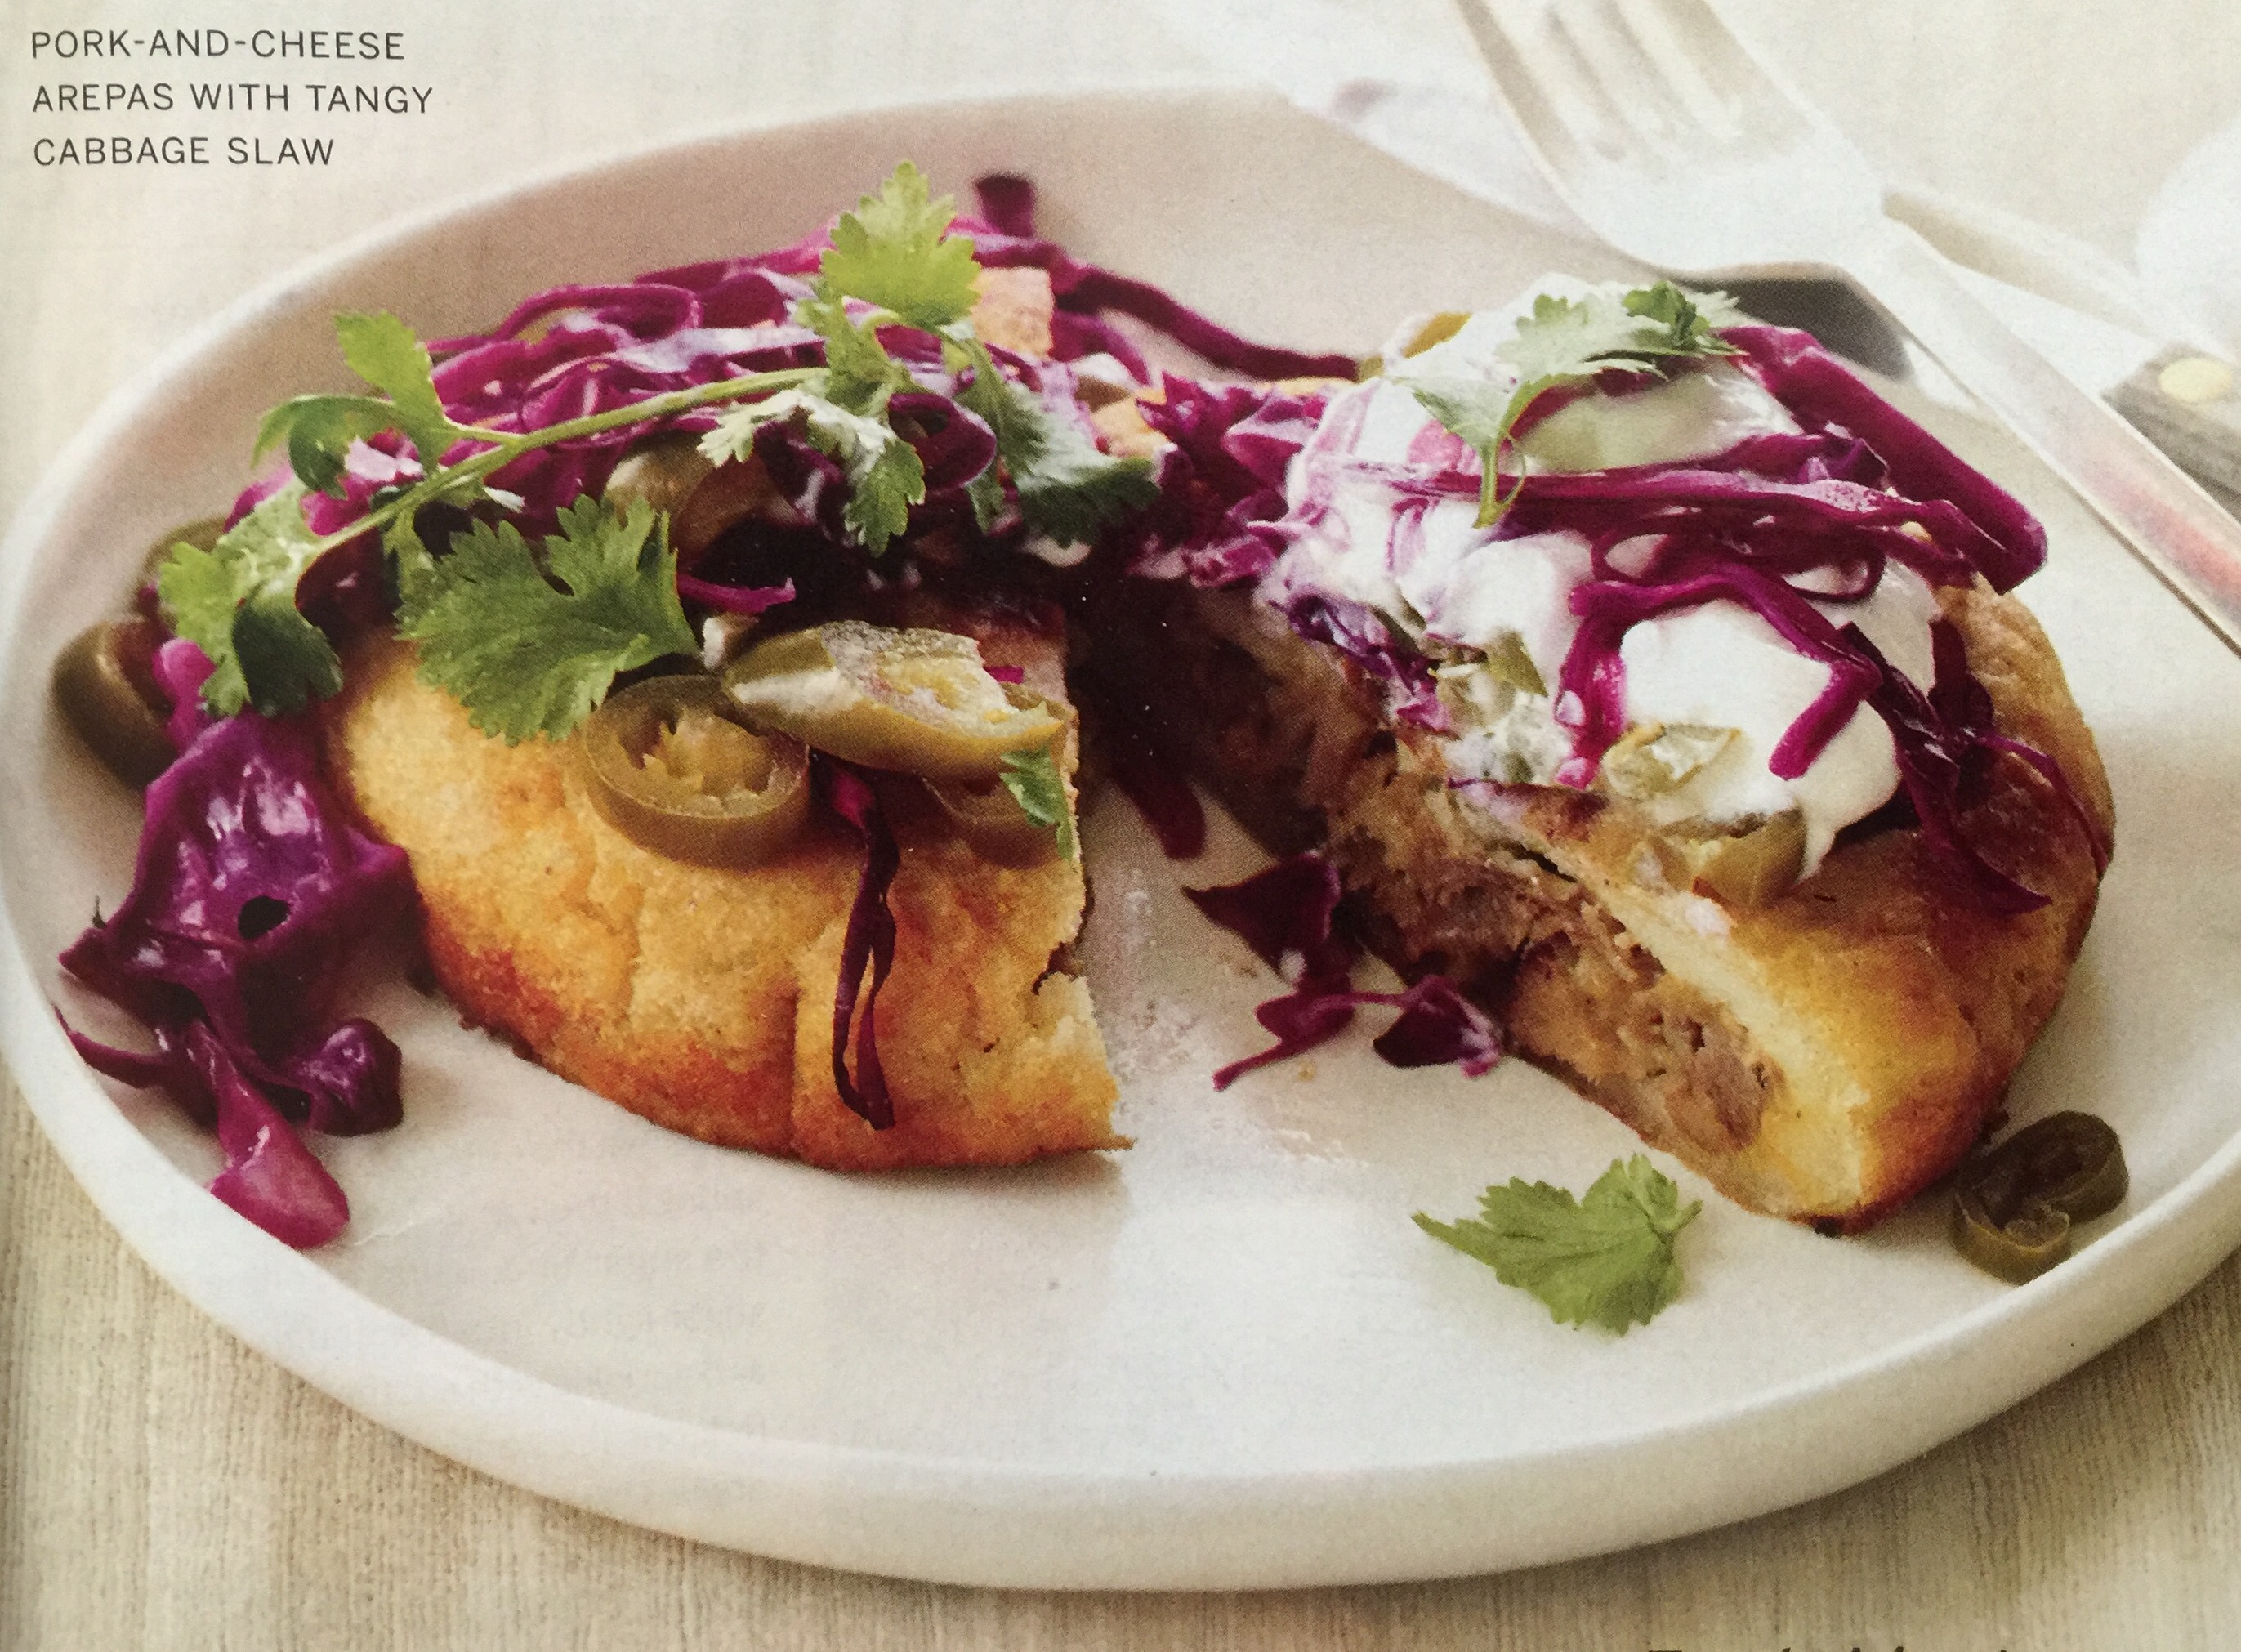
Arepas
- 1 C pre-cooked corn meal (P.A.N. is very popular)
- 1/2 C hot water
- 1/2 C warm milk
- scant salt
- 1 TBL butter
- Mix above to playdough consistency. Add a little more milk or corn meal if necessary
- Form into golf-ball sized balls, and flatten just a bit
You can make them bigger, but if you do, consider baking at 350º for about 15 minutes or deep fry for 6-8 minutes - Indent the center and put a bit of filling
- Wrap around the filling and flatten again
- Fry in 1 TBL EVOO for about 5 minutes per side
Fillings: meat, cheese, beans, cream cheese, avocado, etc.
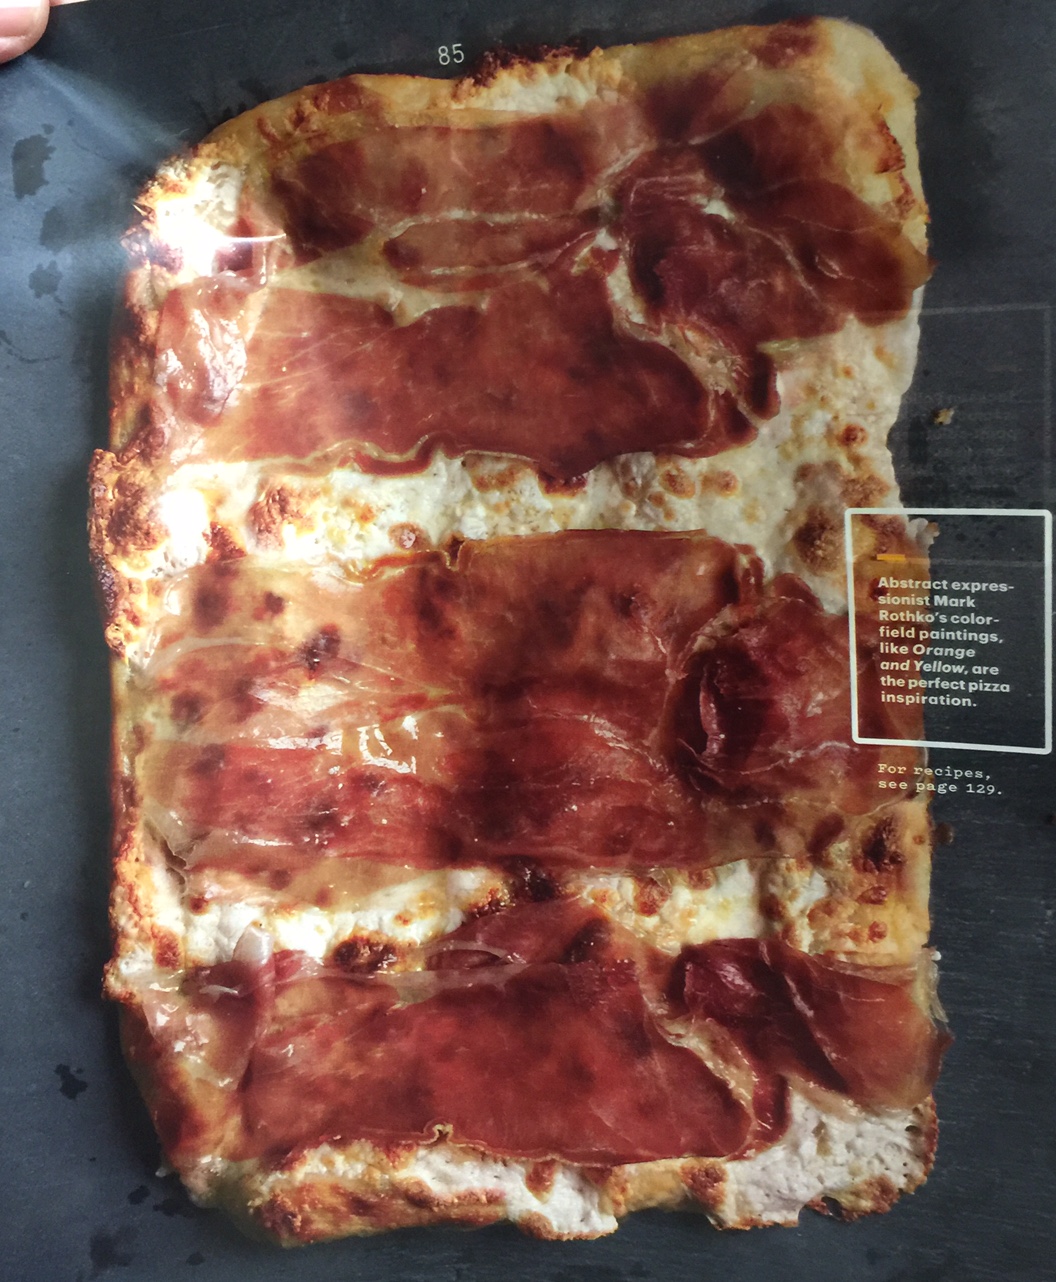
Pizza Creations
Tips: Hotel Hacks
Major player is aluminum foil
Create an aluminum foil boat
Put bacon in the middle, and top with another sheet of aluminum foil
Cook with an iron on high
After the bacon is removed, cook scrambled eggs in the remaining oil.
Alternate: cook a poached egg in aluminum foil that is placed in a pot of
boiling hot coffee water.
Don’t forget salt and pepper
Toast to your bagel on the burner plate of your coffee maker
For instant oatmeal, place the packet and some honey into the coffee pot.
Add water and brew for 10 minutes
Pavlova
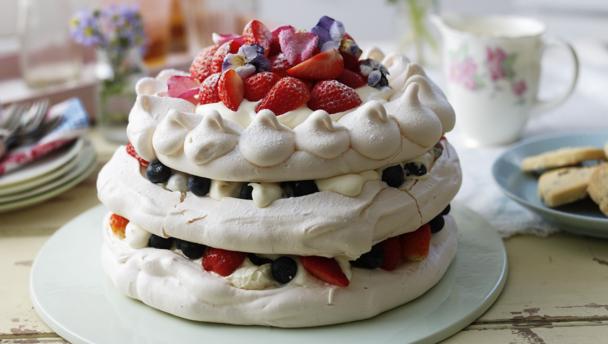 Separate 4 eggs
- Set aside yolks for Hollandaise sauce – another recipe
- Using a pencil, mark a serving plate sized circle on waxed paper
- Flip over paper, so that pencil is on the bottom
- Whip egg whites to medium peaks
Combine
- 1/2 teaspoon cream of tartar or white vinegar
- 1 C sugar
- 1 tsp vanilla
- Pinch salt
- 1 TBL cornstarch
- Continue whipping till you have stiff peaks
- Gently fold in Juice and zest from 1 lemon
- Spread the meringue into several piles so that it is about 1/4 inch disk inside the circle
- Create an indentation in the center of each disk
- Bake at 250° for 90 minutes
- Turn off oven and allow to rest undisturbed for one hour
Give thought to your toppings
Lemon curd is a good topping
Another popular topping is whipped cream
After it has cooled, spread you’re topping, and top with blueberries or
strawberries.
1 C heavy whipping cream – some in each indentation
Put some passion fruit and raspberry in the center as well
– 1/2 C confectioner sugar
Frozen make ahead egg sandwiches
 Mix 12 eggs with 1/2 tsp salt
Pepper to taste
1/4 cup cream
Create egg mixture with above ingredients
Grease sheet pan
Pour egg mixture onto pan
Optionally top with one can of green chilies
Bake at 425° for 12 minutes
Lay a slice of grated cheddar, Swiss or (gasp) American cheese
Bake three more minutes
Use a biscuit cutter to cut round pieces
Cut like cue balls are racked for maximum efficiency.
– Set aside leftovers for a breakfast scramble
While the eggs cook, fry up 12 patties, and toast your English muffins
Assemble your muffins, and wrap in plastic.
Freeze for up to a month.
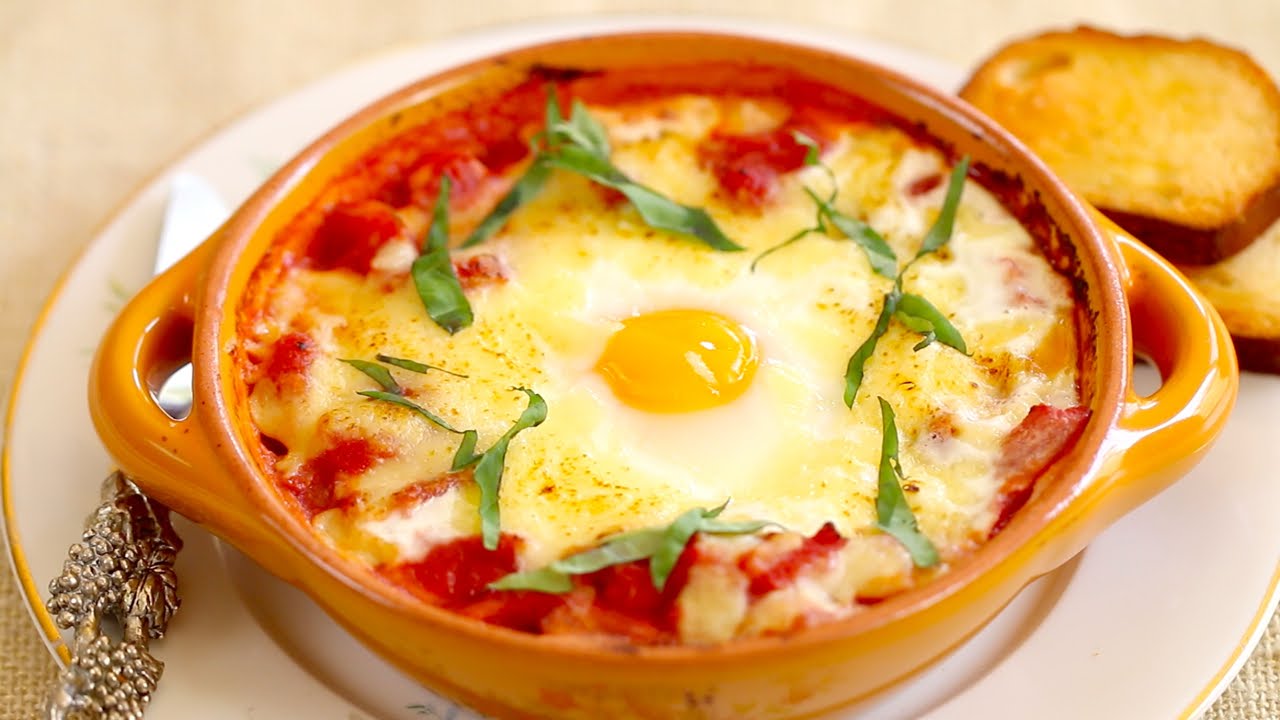
Baked eggs
- 1/4 C Salami
- 4-6 Kalamata olives (pitted)
- 1/2 Minced onion
- 1/4 C Frozen spinach (squeezed)
- 1 can diced tomato
- 4 Eggs – broken into cups so that yolk does not break
- Mozzarella to taste
- Basil
- Parm/Reg or Romano cheese to taste
- Garlic bread
STEP BY STEP
- Preheat oven to 350º
- Dice salami
- Fry lightly in EVOO
- Toss in diced Kalamata olives
- Add some minced onions
- Optionally toss in some frozen spinach (squeezed)
- One can diced tomato (drained) or tomato pieces
- Simmer 5-10 minutes
- Disburse into ramekins
- Make a little pocket for the eggs
- Top with mozzarella pieces season with salt and pepper
- Top with basil
- Cook at 350° for 15 minutes
- Top with grated Parmesan or Romano
- Let set for no more than two minutes or the egg will over cook
- Serve with grilled garlic bread
Breakfast Panini
Take a day-old donut and put it on a hot pan.
Flatten using another pan.
Flip and heat other side.
Serve with coffee or maple syrup dipping sauce
Coffee information – A better cup of coffee
- Try to control these four things:
- Grind size
- Propeller blade causes inconsistent size
- Burr grinder will create similar sized grains
They are expensive. Consider using Store Grinders
- Temperature
- Temperature of brewing water should be 190 – 205º
- Proportion
- Ideally 2 TBL coffee to 6 oz of distilled water
- Brew time
- Brew time is 4-5 minutes – strained into a caraffe
- Grind size
TWO WAYS OF COOKING COFFEE
- Heat water to about 207-210 degrees and pour over coffee grounds in a ceramic filter. Rinse clear water through the coffee filter before running your coffee through. 2 TBL per cup of coffee.
- Drip coffee – about 210-211 degrees and poured through grounds
- Stovetop – Comes to a simmer, so it is about 212º so let it come to the MEAREST SIMMER don’t let it come to a rolling boil
- ROASTS
- Light City – high caffiene
- Full City
- French Vanilla
- Italian
- Espresso – low caffiene
- Bagged coffee should have a pressure release button on the bag
- COFFEE PRODUCTION LOCATIONS – Descriptions by Alton Brown
- Hawaii and Central America – Bright and Snappy
- E Africa and Yeman – Brooding
- Sumatra and Indonesisa – Funky
Tip 1
Place a cinnamon stick piece in the basket of your coffee maker
Optionally, a piece of star anise or an orange peel
Tip2
Place a piece of salted caramel chocolate in the bottom of your coffee cup
Fill half with coffee, and then fill with warm half-and-half
Stir
Tip 3
Create your own vanilla coffee syrup
Scrape out the inside of one vanilla bean
Place shell of vanilla bean in the pan
Add 1 cup sugar and 1 cup water
Heat to about 180°
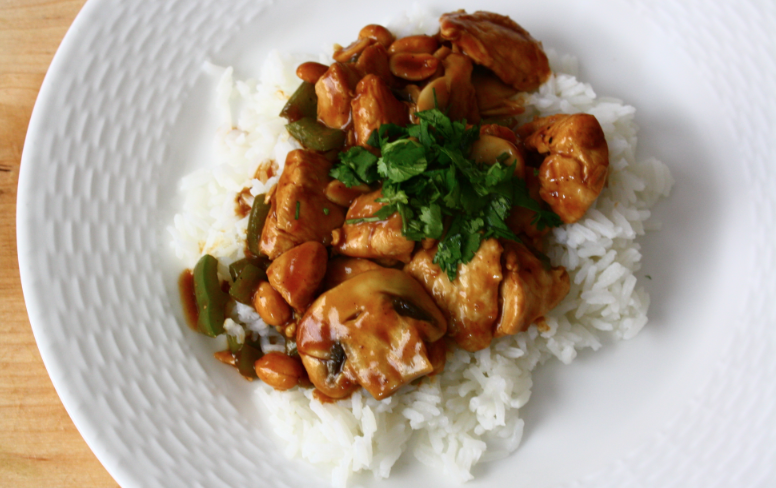
NLOF Hoisin Chicken
- Cooked chicken breast or shredded chicken
- Hoisin Sauce
- One orange
NOTE: The word hoisin is from the Chinese word for seafood, although the sauce does not contain any seafood ingredients.
STEP BY STEP
- Cube chicken into 1/2 inch pieces, or just make sure it is all shredded
- Heat in the microwave or on the stovetop
- Add 1/2 cup hoisin sauce
- Add juice and zest from one orange
- Toss together in hot skillet or mixing bowl (if using a microwave)
- Plate or top with veggies
- If using a microwave, heat for another minute
- Serve over rice or udon noodles
- Top with toasted sesame seeds
Image from Feast on the Cheap.
– $10 Hamburger
- You will need to get 1/2 LB of ground top sirloin, skirt steak or chuck for each person – COARSELY ground.
- Cut the meat into one inch cubes across the grain
- Spread out and freeze it for 30 minutes before grinding
- Don’t overpack or overwork the meat
- If you do not have a meat grinder, pulse in your food processor briefly
- Alternately go to the supermarket and get 80/20 hamburger or ask the butcher to grind it for you. Be sure to specify a coarse grind though.
Ingredients to feed 4 people
| 2 LB hamburger – see notes above Melted butter to brush on top during grilling2 strips of bacon for each burger – Cut into 3 inch piecesBrioche bun or toasted sesame seed bun |
Dredge:
1 tsp each: salt, sugar, onion powder, garlic powder 1/2 tsp each: fresh ground blck pepper, chili powder, celery salt, cumin |
Step by Step
- Divide your meat into four servings (if there are four people)
- Flatten into round patties. Do not overwork your meat or it will become tough. If you are making “Jucy Lucy Burgers” flatten it extra big, put cheese in the center, then fold the edges over to COMPLETELY encase the cheese.
- Mix your dry dredge and press the burger patties into it coating the patties well
- Put a dimple in the center of your hamburger patty. This will keep it from rounding.
- Cook the bacon first at about 400º, then set aside. Cook the burgers in the residual bacon grease
- Baste the top with butter each time you turn it over to keep your burger juicy. You will cook the burgers a total of twice on each side – a total of 12 minutes – 3 minutes per flip
- Place on toasted sesame seed bun or brioche bun, and top with bacon and a slice of cheddar cheese or blue cheese. Skip cheddar if added at Step Two.
- Toss the onion and lettuce briefly in the remaining burger juice in the pan to give it a nice flavor
- Serve with condiments
Oh, one more thing…
-
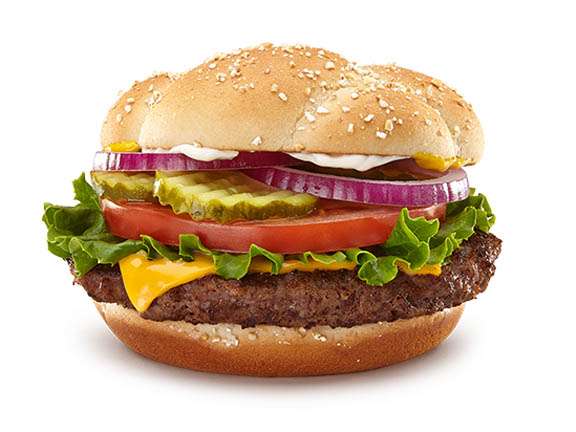
Carl’s Jr.’s Original Six Dollar Burger (since there are other variations now) is a hefty burger with a charbroiled Black Angus beef patty, two slices of American cheese, lettuce, two slices of tomato, red onion, pickles, mustard, mayo, and ketchup on a toasted sesame seed bun. Grandpa thinks his is better.
- You can make your own French fries using Grandpa’s Recipe. Another fun option is to make medallions rather than the standard long fries.
CLICK HERE for a free sample copies of Grandpa's Cookbooks. © 2016, 2017, 2018.
Turkey Bolognese
Turkey Bolognese
1 lb Ground turkey meat
Onion
Carrot
Canned tomato sauce
Tomato paste
Garlic
Chili powder
Italian
Bay Leaf
Water
Simmer for an hour
Sauteed zucchini noodles
Chorizo – Make your own
Chorizo Verde and Chorizo Rojo
The meat
Use 1 part of the fatty jowels of a pig, and about 4 parts of 80/20 blade meat.
Grind it up using a coarse grind, and then mix by hand with the following spices
The amounts below are assuming a 1 pound blade meat and 1/4 pound jowels
Chorizo Rojo
Red Pesto
- 1/4 C Spicy Paprika
- 2 TBL EVOO
- 3 TBL Apple Cider Vinegar
- 1 TBL Brown Sugar
- 1 TBL Sea salt
- 1 TBL Ancho Chili Powder
- 1 tsp Chile Negro Powder
- 2 tsp Ground Oregano
- 2 tsp Cumin
- 1 tsp Cinnamon
- 1 tsp Granulated Garlic
- 1/2 tsp Black Pepper – ground
- Cayenne pepper to taste – adds heat
Chorizo Verde
Green Pesto
- 1/2 C Powdered jalapeño
- 2 TBL EVOO
- 1/4 C White Wine – Enough to get the consistency you desire
- 1-1/2 TBL Sea salt
- 2 tsp Ground oregano
- 1 tsp Sugar
- 1 tsp Onion powder
- 1 tsp Green Onion – minced
- 1 tsp Bay Laurel (Bay leaves) – ground
- 1 tsp Garlic – ground
- 1/2 tsp Black Pepper – ground
Putting it all together
After mixing, run the mixture through a sausage casing stuffer.
Create sausages the size you desire.
Hang sausages from any type of rack – even the oven rack
Cook 3-4 hours at 275º
Alternately, cook in a pan and put into a tortilla will eggs and cheese
Bobby Flay’s Take
- I’ve made some personal modifications, so blame me, not Bobby, if this doesn’t turn out right. This is what works for me.
- Put into hot skillet – to taste
- Garlic – two cloves minced and mashed with salt
- Diced onion
- Cumin
- Oregano
- Cayenne
- Smoked Paprika
- Salt and Pepper
- Cook until blossomed – Add water if necessary
- Add a bit of cider vinegar
- Add some finely diced onion and tomato
- Add diced jalapeno and lime juice
- Remove from heat
- Add cilantro
- Add EVOO and salt and pepper
- Add to ground pork
- If there’s not enough fat (for texture) add 1-2 TBL butter
Cook and serve with egg in a burrito, or create a patty and serve in a sandwich.
Garlic Knots
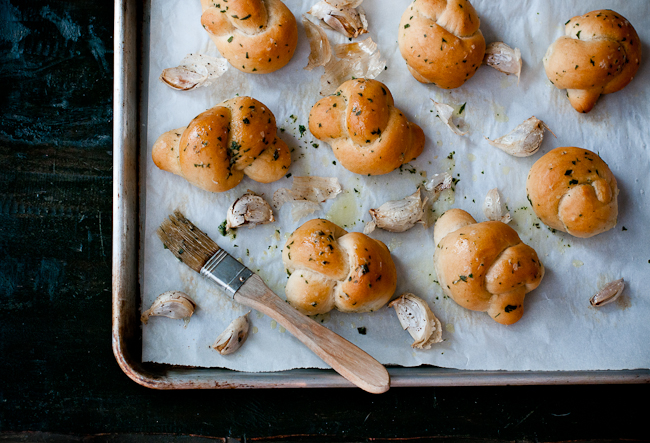 Recipe from Steve, owner of Grande Pizza
- 1 Ball prepared Pizza dough
- 2 TBL Melted butter
- 2 TBL Rosemary
- 1 TBL Garlic powder
- 1 TBL Parmesan cheese
Marinara dipping sauce
- Dried oregano to sprinkle
Ranch dipping sauce
- 4 cloves Garlic
- 4 Minced chives
- 1/2 tsp Salt
- 1 handful flat leaf parsley
- 1 tsp dill
- 1 C sour cream
- 1/2 C Buttermilk
- 1/2 C Mayo
- 2 TBL White wine vinegar
- 2 TBL Franks red hot sauce
- Pulse in food processor until chopped and mixed
To twist the knots, wrap the strip around your finger, then just tuck it through.
- Use any standard pizza dough and divide into 8 pieces for large knots, or 12 pieces for smaller knots
- Mix together chopped rosemary, 2 cloves of minced garlic and 2 TBL melted butter
- Toss balls in butter mixture
- Sprinkle garlic powder lightly onto a cutting board
- Roll balls into ropes about 6-8 inches in length over top of sprinkled garlic powder
- Tie into loose knots and toss with grated Parmesan
- Let rise for one hour in a warm place
- Bake 400º for about 20 minutes
- Serve on a plate with a cup of warm marinara dipping sauce or cool ranch dressing in the center
- Sprinkle with oregano
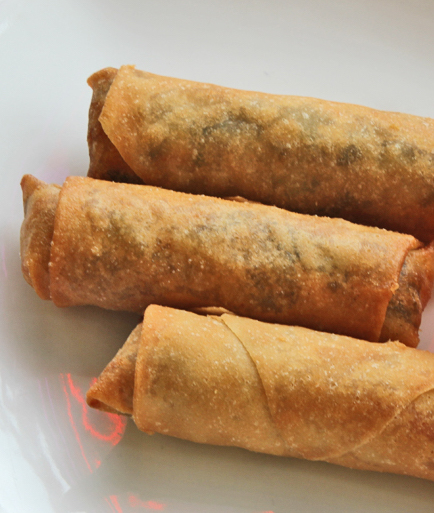
Egg Rolls
- 1/2 LB cooked ground beef
- 1/2 LB cooked ground pork
Alternately you can use pork tenderloin or chicken - Worcestershire sauce
- Red Bell Peppers (julienne strips)
- Sweet Onions (julienne strips)
- Celery (diced)
- Grated ginger
- Scallions
- Soy sauce
- Carrot (julienne strips)
- 1 C finely sliced cabbage
- Egg Roll wrappers
butter, flour, milk, provolone cheese
- Brown meat in a large skillet
- Toss above to combine
- Cook all till slightly wilted
- Place Egg Roll wrapper on a damp paper towel
- Spool some mixture in between wrapper points
- Roll wrapper tightly, securing edges with water
- Place on a baking sheet
- When finished rolling, spray all with oil
- Flip and spray other side as well
- Bake at 375º until browned – about 12 minutes ( See note at bottom of page )
- Meanwhile prepare cheese dipping sauce – Heat and stir together
- 1 TBL butter
- 1 TBL flour
- 1/2 C milk
- 1/2 C provolone cheese
- Alternate soy dipping sauce
- 6 TBL soy sauce
- 2 TBL rice vinegar
- 2 TBL creamy peanut butter
- 2 tsp sugar
- 2 tsp sesame oil
- If frying in a pan, use an oil with a high smoke point such as grapeseed, canola, peanut, safflower or sunflower oils.
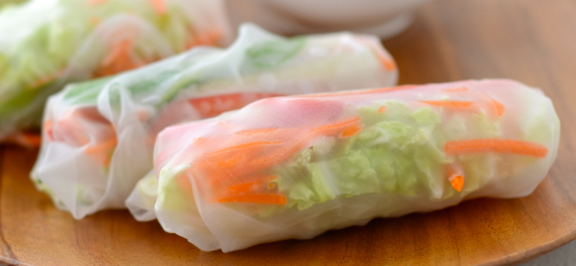
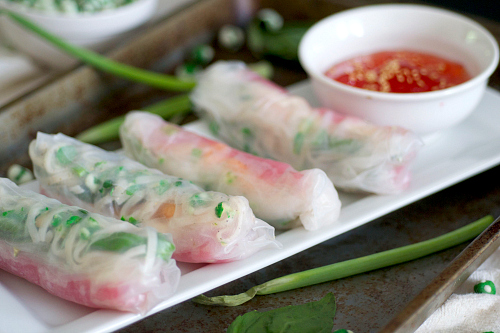
Spring Rolls – COLLECTION
See also: Spring Roll Dipping Sauces
| I created this base recipe during a vacation where we are currently traveling Europe and are living in Istanbul, Turkey. You might guess that pork is difficult to come by in a Muslim country, so I created a more vegetarian option.
Saying SPRING ROLL is kind of like saying CASSEROLE. There are many ways to make great spring rolls. Here are many options from which you may choose. The only commonality is that you use Rice Paper Sheets (round) available from most grocery stores. Soak them in cold water for about 20 seconds to soften them up before trying to roll them. Be sure to review THINGS YOU NEED TO KNOW before you start on your Spring Rolls. Consider threading the shrimp on a skewer prior to cooking. It will cook straight – and then stay straight. it will fit inside your spring roll very nicely. Cook only 3-5 minutes (depending on the size) and then plunge in ice water. Octopus can be eaten raw or precooked. Slice on the bias. Slice larger, tough octopus very thinly. |
INGREDIENTS – Use whichever you prefer
You can alternatively use won ton wrappers and bake or fry your spring rolls. Serve with ginger peanut dipping sauce. You can also just use Hoisin sauce, which is available in most oriental grocery stores. |
Dipping Sauce:
- Peanut butter
- Rice Wine Vinegar
- Soy
- Hoisin or Plum Sauce
- Chili Sauce
INGREDIENTS
STEP BY STEP
|
| Crab Spring Rolls
Your filling can be shredded chicken, crab, or even just vegetables. For this recipe I will be using canned crab
Note: Spring Roll Pastry sheets can be purchased from any store. In a pinch, you can use won ton wrappers. Select the thinnest possible sheets. Dipping sauce
|
These can be made up to four hours ahead, and then refrigerated wrapped carefully in a slightly damp towel, and then plastic wrap. |
Carrot Soup
4 C chicken broth
2 carrots (peeled and grated)
1 stalk of celery (diced)
2 cloves garlic (minced)
1 TBL butter
1 TBL sugar
1 TBL flour
1 onion (diced)
3 TBL fresh cilantro
1 tsp corriander
salt and pepper to taste
zest from 1 lemon with juice
- Brown onions in melted butter
- Add carrots, flour and sugar
- Add chicken broth
- Add garlic and cilantro
- Add coriander, salt and pepper
- Cook for 25 minutes
- Puree with immersion blender
- Add garlic and lemon
- Top with cream and a sprig of cilantro
