Grandpa’s Notes
- Internal temp of finished bread should be 195-205º
- Below 190º and the gluten structure will break down, and your bread will fall
- Above 210º and the water will quickly evaporate and bread will become dry
- Bread flour has higher protein content
- Tap water should be let to air out at least 2 hours in order for chlorine to evaporate
How to Make White Bread Soft, Spongy & Moist
Choosing the Right Kind of Flour
It’s the most crucial element and can make or break your loaf. In India, the two most common types of flour are atta that is used to make chappatis and the all-purpose flour or maida which is mostly used in baking or seen in store-brought breads, cakes etc. I tried the recipes which asked me to use whole wheat flour but it didn’t work for a number of reasons which I’ll come back to later.
And so, I decided to go in for a basic white bread.
When it comes to picking the right flour, Chef Vinesh Johny, baker and owner of Lavonne, Bangalore says, “You need to find the kind that’s got gluten content of about 14%. Anything less than that and your bread won’t bake well or hold structure.” I checked most of the maida packets but couldn’t find the quantity of gluten, but from initial research I figure it’s somewhere around 10% and so I also brought a packet of gluten from Modern Bazaar.
Don’t get confused with trying to find bread flour because all-purpose flour will do the trick and I say this because I cruised through both Modern Bazaar and Le Marche trying to find it myself. I didn’t want to try a recipe and buy ingredients that I wouldn’t want to buy again and so I decided to stick with all-purpose flour.
(The Best Breads from Across the Country)
Other Ingredients You’ll Need
Yeast: This is an investment you’ll have to make. Modern Bazaar has a few options, they’re all imported but some of them are reasonable priced. I bought a Tesco box which has around 20 sachets of dry yeast and costs around Rs.300.
Things you want to set aside: Warm water, honey, salt, baking soda, sugar, eggs, olive oil and butter, salter and unsalted.
Methodology
I picked three recipes based on ease, expertise and popularity. The first recipe was the one which is most popular on YouTube and shows up every time you type in ‘how to make bread’. The second, was a classic French bread recipe for which I didn’t need special ingredients and the last one was Vinesh’s recipe who’s an exceptional baker.
Recipe #1 BakeLikeAPro
‘Bake Like a Pro’ is a YouTube channel with over a lakh subscribers and it’s all for good reasons. From cakes to biscuits to pasta dough, the channel has catalogued over 150 recipe videos and each one explains how to make a recipe, step-by-step. Bake Like a Pro has an excellent recipe for white bread for which you need a few basic ingredients like flour, butter, salt, sugar, milk and water.
You can watch the video here:
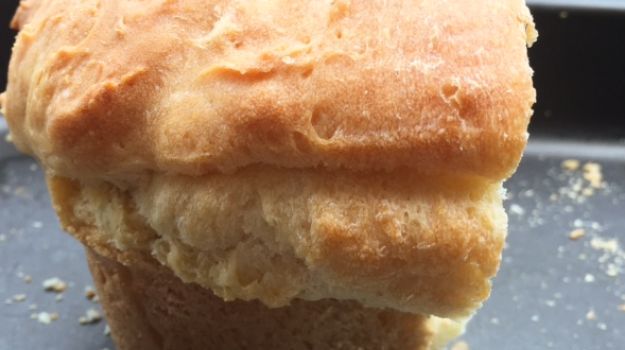
What works, what doesn’t:I had to try this recipe thrice to get it right but that was more my fault than the recipe’s. I couldn’t grasp how far the dough would rise and so I stuffed the baking tray with too much dough. But the one thing which was consistent every time I baked the bread was its taste. I’m not sure if it was the combination of milk and butter, but the loaf of bread had an extremely smooth and creamy taste.
After this recipe, I tried a number of other recipes and each and every one of them turned out to be a disaster which meant I needed to bring in an expert. I called up Chef Vinesh Johny (genius alert!) and here’s what he had to say: “Flour, yeast and water are the three basic ingredients you need to make bread. The rest of them are only for texture or flavour. Eggs and milk make it soft and creamy and sugar gives it a slightly sweet taste.”

Recipe #2 Classic French Bread
Classic French bread recipes call for honey and are a tad sweet which is what makes this white bread different from the others. The ingredients you need for this recipe are water, honey, dry yeast, butter, maida and milk powder though I used milk instead.
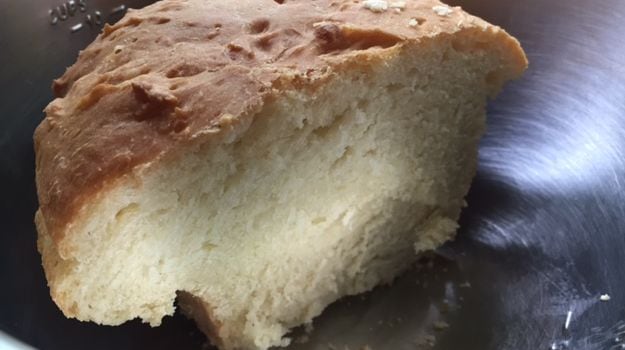
What works, what doesn’t: I used two teaspoons of milk instead of milk powder but I should have used the same quantity. The bread tasted delicious but it was crumbly which I think had more to do with the quality of flour I used. So for the next attempt, I plan on adding a pinch of gluten to this recipe. The bread also took much longer to rise, because of the humidity maybe, so I had to leave it for almost 2 hours.
It did taste different than all the other batch of breads I tried and I’d bake it again but it’s not something I’d use for a ham sandwich. It’s the kind you eat with jam or plain butter.

You need a few basic ingredients for this recipe but the technique is what really stands out. So before you start, be careful to read it thoroughly. You need the basics: flour, yeast, salt, sugar, eggs and water.
What works, what doesn’t: The one thing I seriously struggled with here was converting grams to tablespoons. I’m an amateur cook, at best, and so 9 grams sugar is not something I’ve come face to face with before. But this gorgeous convertor I found online came to my rescue (click here). And I’m guessing it’s fairly accurate, because my recipe turned out beautifully.
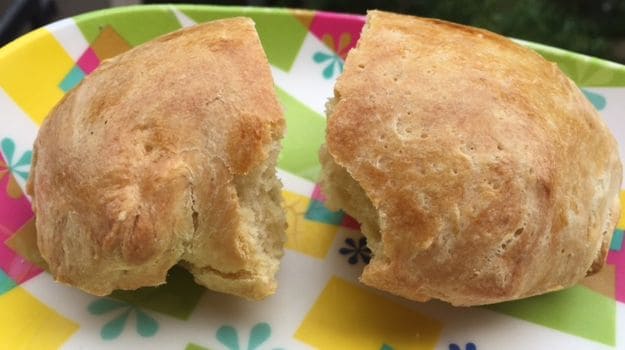
The other thing I altered in the recipe was the shape. I just separated the dough into three separate rounds to get smaller buns. Since I’ve never baked bread before, the one thing I was confused most about was how much time should the dough rest but Vinesh advised me to let it rest till it doubles in size and not worry too much about the number of hours mentioned in the recipe.

The Verdict
I loved all the three recipes I picked but if I had to pick one, and this is purely based on ease of execution, then it would be the first one by BakeLikeAPro. It’s ridiculously easy and needs no more than a few hours. Plus, the bread lasts for good three days so you don’t need to run to the store before breakfast. It also tastes really good with a bit of butter and jam, it’s got this undertone of sweet and salt which is great too. And just so you can try it at home, I’ve penned down the recipe:
(Bread and Beyond: 10 Best Sandwich Recipes)
Ingredients
5-6 cups flour
1/2 cup milk
3 Tbsp sugar
2 tsp salt
3Tbsp butter
2 packets of yeast (dry)
1 1/2 cups water
The only thing I added here is a pinch of gluten which you can if you like your bread a bit sturdy.
Method:
1. Heat the milk and add sugar, salt and butter. You can also you margarine if you want. Make sure the butter melts. If it hasn’t then microwave it a bit or over hot boiling water. You don’t want it boiling but it should be completely melt. Allow this mix to cool.
2. Heat up the water to about luke warm and add the yeast. Add a cup of flour and start stirring/mixing.
3. Add a second cup of flour and the butter mix you made in step 1. Stir again for a 9-10 minutes.
4. Add another cup of flour (3rd cup) and stir.
5. Add the next cup of flour and stir/knead for around 5-6 minutes. Add the 5th cup of flour and knead again. Keep kneading till it’s soft and doesn’t break but behaves more like clay. Add a bit more flour if required.
6. Pour some flour on your kitchen slab and start to knead the dough.
7. Oil a big pot. pan for the dough to go into. Cover with a towel and let it rise for around 35-40 minutes. Longer if it hasn’t risen.
8. Punch it down in the pot, take it out and knead it a little bit. Split it into two equal loaves.
9. Take two baking trays, oil them and put the dough in. The recipe asks for oil to be sprayed on top of the dough but i brushed some butter over them.
10. Cover them and let the dough rise for around an hour.
11. Preheat the oven to 220 degrees and bake till golden brown.
(Nigel Slater’s Bread Recipes)
