- Prepare hot wings, BBQ wings, or plain wings
- Cook rice – Par boil only
- Prepare flavor base
- Add rice
- Let simmer about 15 minutes
Category: Grandpa’s Use Only
These recipes are for Grandpa and his family. This category includes recipes from magazines, TV shows, newspapers, and other sources where I don’t have permission to republish the recipes, but still feels they are recipes that he may want to cook for himself at a later time.
Fired Pie Mac & Cheese
Grandpa’s Use Only, please
- In a really hot skillet
- 1 C Heavy Whipping Cream
- 1 C Cheddar Cheese
- 4 C precooked pasta – elbow macaroni
- Simmer 5-6 minutes
- Toppings: jalapeno, feta, mushrooms, sausage, bacon, bell pepper, black olives, ham, banana peppers, capiocola gorzonzola, mozzarella, Parmesan, etc.
- Top with Cheddar Cheese
- Pop into oven for 8 minutes
- Serve hot
Rainbow Bars
DRY INGREDIENTS
- 3/4 C peanut butter
- 1/2 C sugar
- 2/3 C brown sugar
- 1 tsp cinnamon
- 2 tsp vanilla
- 3/4 tsp salt
- Combine above ingredients with the butter
- 1 stick melted butter
- Add 3 eggs – one at a time
DRY INGREDIENTS
- 3/4 C whole grain natural oatmeal (not instant)
- 2 C peanuts
- 3 1/2 C instant oatmeal
- 1 tsp baking soda
- 1/2 C M&Ms
- 1/4 C corn starch
- Fold together dry ingredients and wet ingredients
- Press into parchment lined pan
- Press VERY roughly flat – using fingers
- Add 1/2 C rainbow cake sprinkiles and 1/2 C M&Ms
- Press flat – using parchment paper
- Bake at 300º for 45 minutes
- Let cool 30 minutes before cutting into bars
Dip Dinner
Dip 1 – Ranch Dressing Mixture
- 1/4 C Ranch Dressing
- 1/4 C Yogurt
- 1/4 C Mayo or Salad Dressing
- 1/4 C Sour Cream
- 1/2 tsp Celery Salt
Dip 2 – Cheese Mixture
- 2 ounces Gruyere cheese, rind cut off (grated)
- 2 ounces Swiss Ementhaler cheese (grated)
- 1/4 tablespoon cornstarch
- 1/4 cup dry white wine (such as Sauvignon Blanc)
- 1 tablespoon fresh lemon juice
- Pinch of ground nutmeg
- A dash of cayenne pepper
- Heat all of above on a medium heat until melted and combined
Crudite Tray
- Select 4-6 from the below list
- Crusty bread sticks
- Boiled new potatoes
- Rounds or spears of smoked sausage
- Cubed or spears of cooked chicken
- Blanched baby asparagus
- Green beans
- Broccoli
- Cauliflower florets
- Carrot sticks.
- Sliced zucchinin
- Celery
- Crackers
- Cheese Sticks
- Green onions
- Bell pepper
Gravy – From FoodNetwork.com
Foolproof Gravy
- 1 TBL gelatin
- 2.25 C broth
- shallot
- garlic
- fond
- butter
- corriander
- 2 tsp cornstarch
- 2 TBL water
From FoodNetwork.com
Ingredients
For the broth:
For the gravy:
Directions
- When your turkey goes into the oven, start the broth: Melt the butter in a large saucepan over medium-low heat. Add the onion and turkey neck and giblets; cook, stirring, until the giblets are browned, about 15 minutes. Add the chicken broth, herb sprigs and bay leaf; cover and simmer while the turkey roasts, about 2 hours. Strain the broth and keep warm; reserve the neck and giblets, if desired.
- When your turkey is done, transfer it to a cutting board and pour all the pan drippings into a degreasing cup. Add 1/2 cup of the prepared broth to the roasting pan and scrape up the browned bits with a wooden spoon. (If the bits are stuck, put the pan over a low burner to loosen them.) Add the bits and liquid to the degreasing cup.
- Let the fat rise to the top of the degreasing cup, then spoon off 1/2 cup fat and transfer to a large saucepan over medium heat. Make a roux: Sprinkle the flour into the pan and cook, stirring constantly with a wooden spoon, until the flour browns slightly, about 4 minutes.
- Gradually add the hot broth to the roux, whisking constantly to prevent lumps. Bring to a boil, then reduce the heat to medium low. Pour the dark roasting juices from the degreasing cup into the gravy, discarding any remaining fat. If desired, chop the giblets and shred the neck meat; add to the gravy. Simmer, whisking occasionally, until the gravy thickens, about 10 minutes. Add the Worcestershire sauce and season with salt and pepper. Stir in the flavored butter, if desired.
Make Your Own Butter:
- Start with cold heavy cream and mix on high speed.
- After about 3 minutes, you’ll have whipped cream; continue mixing.
- After about 6 more minutes, the butter will clump and separate from the liquid. Strain and wrap the butter in cheesecloth, then squeeze out the liquid.
- Tip: To make perfect rounds, shape flavored butter into a log using parchment paper; wrap and chill, then slice.
- Pumpkin
- Mash 1/4 cup canned pure pumpkin, 1 stick softened butter, 1/4 teaspoon orange zest, 1/2 teaspoon each sugar and pumpkin pie spice, and a pinch of salt.
- Spiced Cranberry
- Simmer 1/2 cup cranberries with 1 tablespoon water, 1/4 cup sugar, 1 strip lemon zest, 1 cinnamon stick and 1 clove, 6 to 8 minutes. Discard the zest, cinnamon and clove; let cool. Pulse in a food processor with 1 stick softened butter and a pinch of salt.
- Bourbon-Raisin
- Microwave 1/2 cup raisins with 1 tablespoon bourbon, covered, 45 seconds; let cool. Pulse in a food processor with 1 stick softened butter, 1 tablespoon chopped chives and a pinch of salt.
- Sage Brown Butter
- Melt 1 stick butter over medium heat and cook until browned. Add 1/4 cup sage and fry 30 seconds; drain on paper towels, then chop. Let the brown butter cool; mash with 1 stick softened butter, the sage and a pinch of salt.
Cook’s Note
The Golden Formula: (for 8 cups of gravy) 1/2 cup fat Use the oil that separates from your turkey drippings. If you don’t have enough, add butter. 1/2 cup flour Cook the flour with the fat to make a roux for thickening the gravy. For a darker gravy, cook the roux longer. (Note: Darker roux has less thickening power.) 8 cups broth Upgrade store-bought broth by simmering it with a sliced onion, a bay leaf, a few sprigs of thyme, parsley and/or sage, and the turkey giblets for about 2 hours. Quick Fixes: Too Thick? Add a splash of water, broth, brandy or bourbon. Too Thin? Mix equal parts flour and soft butter; whisk into boiling gravy. Too Lumpy? Strain the gravy through a fine-mesh sieve.
Cabbage Casserole
Equipment
-
A greased, 2-quart baking dish
Ingredients
- 1/2 of a medium-size head of cabbage — about 500g
- 1/2 to 3/4 teaspoon salt, depending on taste
- 4 large eggs
- 1/4 cup (58g) mayonnaise
- 1/4 cup (62g) sour cream or plain yogurt
- 1/4 cup (30g) all-purpose flour or a gluten-free substitute
- 1 teaspoon (4g) baking powder
- 1 teaspoon (4g) cornstarch
- A pinch of black pepper
- 4 ounces (112g) (or more!) finely-shredded Swiss cheese
Instructions
-
Center the oven rack; preheat the oven to 350°F (177°C).
Preparing the cabbage:
-
Remove the hard core from the cabbage. Then thinly slice or shred the cabbage as for coleslaw. Put the shreds in a large bowl, and sprinkle them with the salt. Toss with your hands to disperse the salt. Then roughly massage the cabbage until it softens and begins to weep moisture (your hands will feel wet) — about 1 minute.
-
Transfer the cabbage to the prepared baking dish, and let it rest for about 5 minutes. Meanwhile, make the sauce.
Making the sauce:
-
Whisk the eggs in a medium-size bowl. One ingredient at a time, whisk in the mayonnaise and the sour cream (or yogurt). Then add the flour, baking powder, cornstarch, and pepper. Whisk vigorously until the batter becomes fairly smooth — about 30 seconds.
Assembling the casserole:
-
Pour the sauce over the cabbage. Using a spatula, stir the mixture until all of the cabbage is coated. Sprinkle the top with the shredded cheese.
Baking the casserole:
-
Bake in the preheated oven until the casserole puffs and the cheese melts and turns spotty brown — about 50 minutes. Cool on a wire rack for at least 15 minutes before slicing and serving.
Maple-glazed roast pumpkin
Ingredients
- 2 tbsp maple syrup
- 2 tbsp olive oil
- 2 tbsp chopped fresh thyme
- 1/2 tsp ground all spice
- 1kg Kent pumpkin, unpeeled, seeded, cut into 10 wedges
Step by Step
- Step 1
- Preheat oven to 450°F.
- Combine the maple syrup, oil, thyme and allspice in a small bowl.
- Place the pumpkin in a large roasting pan.
- Add half the maple syrup mixture and toss to coat.
- Season with salt and pepper. Roast for 20 minutes.
- Step 2
- Add the remaining maple syrup mixture.
- Roast for a further 20 minutes or until the pumpkin is tender and golden.
Flavored Cream Cheese
BASE
- 1/2 C cream cheese
- 1/4 C goat cheese
- 1 TBL milk
- A bit of salt and pepper
Option 1
- Green onion and chopped fresh dill
Option 2
- Chopped fresh cilantro and roasted jalapeño
Option 3
- Red onion and capers – Serve with fresh salmon
Souffle Pancake
Grandpa’s Brief
- Use muffin ring
- Beat egg whites to meringue
- Sift flour
- Add corn starch
- Fill rings only half way
- Pour batter, add water, cover
- Cook low and slow or they will burn or be undercooked
Make your own Biscuit Mix
Bisquick is pretty amazing stuff. I use it all the time; but you can make your own at about half the price.
Biscuit Mix
INGREDIENTS – Use these amounts for about 12 biscuits
- 340 gm – 12 oz – AP flour (sifted)
- 3/4 tsp salt
- 2 tsp sugar
- 20 gm – 4 tsp – baking powder
- 1/4 tsp – baking soda
- SIFT TOGETHER ABOVE INGREDIENTS
- 60 gm – 1/4 C – John Morrell Lard (or other lard)
- Crisco if you must
- 30 gm – – 2 TBL – COLD butter
- Cut fat into the flour mixture
INGREDIENTS – Similar to Bisquick – Makes 10 C Mix
- 8 C or 1000 gm AP flour (sifted)
- 1 TBL salt
- 1/4 C sugar
- 1/4 C baking powder
- 2 TBL baking soda
- SIFT TOGETHER ABOVE INGREDIENTS
- 1 C COLD shortening or John Morrell Lard (or other lard)
- 1 stick COLD butter
STEP BY STEP
- Combine sifted flour, sugar, baking powder, salt.
- Sift into a large bowl.
- Add shortening and butter.
- Cut in shortening until it resembles coarse cornmeal.
- Now your mix is ready to store in a closed canister for no longer than a month… OK then, maybe two months.
LOOKING FOR A RECIPE WITH WHICH TO USE THIS?
Sugar Free Pumpkin Pie
9 ingredients
-
1/2 tsp Ginger, ground
-
16 oz Pumpkin puree
-
2 Eggs eggs
-
1 can Evaporated milk
-
1 tsp Cinnamon, ground
-
1/2 tsp Cloves, ground
-
1/2 tsp Salt
-
2 1/2 tbsp Sugar twin brown sugar
-
1 9-inch pie shell
- Bake for 10 minutes at 425°F.
- Reduce temperature to 350°F and bake for 30 minutes.
To keep this pumpkin pie recipe sugar-free overall, look for a sugar-free pie crust or make your own crust and leave out the sugar or swap for an artificial sweetener. You could also make a crustless sugar-free pumpkin pie that’s more like a custard. Here’s a pie crust recipe that makes a perfect pastry crust in a pie pan every time.
- Try coconut milk or unsweetened almond milk creamer instead of evaporated milk for a dairy-free filling.
- Instead of individual spices, feel free to use 2 teaspoons of pumpkin pie spice instead.
- Add 1/4 teaspoon of nutmeg or 1 teaspoon of vanilla extract for more flavors in the filling.
- Add 1 tablespoon of sugar-free maple syrup for a nice fall flavor touch.
- For a gluten-free pie, use a gluten-free pie shell or make one with gluten-free flour or almond flour.
Advice on Buying Pumpkin Puree
This recipe calls for pumpkin puree, not pumpkin pie filling. Pumpkin puree is simply cooked types of squash that have been mashed. Pumpkin pie filling, on the other hand, is pureed pumpkin flesh mixed with spices and sweetener (most likely sugar). You need pumpkin puree for this sugar-free pumpkin pie recipe.
On many pumpkin puree brand labels, you will not find “pumpkin” listed, but you will find pumpkin flavoring and squash. Ok, so pumpkin is a squash but so are butternut, yellow, zucchini, and many others. But do you want squash pie or pumpkin pie?
- Buy baking pumpkins and clean and quarter them.
- Place the pumpkin pieces in a baking dish and sprinkle over some pumpkin pie spice, cinnamon, a small amount of ground cloves, some brown sugar (or sugar substitute), and a few dabs of butter.
- Cover with foil and bake at 350°F until the pumpkin is soft but not overcooked.
- Mash the pumpkin thoroughly; otherwise, your pie may be a little stringy.
Understand that the color and texture of your “real” pumpkin pie will be somewhat different from a “squash” pie, but your taste buds will thank you.
Should You Pre-Bake the Crust?
If you are not making a crustless sugar-free pumpkin pie and are using a pastry crust, you may want to pre-bake (or partially pre-bake) so it doesn’t get soggy once you add the filling.
Because your pie is in the oven for a long time to allow for the pumpkin filling to set, you should cover the crust edge after about 30 minutes, so it does not burn. You can use a pie crust protector shield or make your own shield by cutting a “halo” out of aluminum foil – click here for a helpful video.
How to Prevent Cracks in Your No Sugar Added Pumpkin Pie
The secret to getting no cracks in your no sugar added pumpkin pie is not to overbake it. It’s a custard – in some ways similar to cheesecake. So, take it out of the oven when it’s still jiggly.
Overbaking will cause cracks and affect the texture. However, if you do end up with cracks, you can always cover them with whipped cream and no one will notice!
To reduce the chance of cracking your low-carb pumpkin pie, you can bake the pie in a water bath.
Fired Mac and Cheese
In a non stick skillet
- In a very hot skillet
- Add 1 C heavy whipping cream
- Add 1 C cheddar cheese
- Opt: 1/4 C Gruyere
- Add 3 C precooked elbow macaroni
- Let simmer 5 minutes
- Stir in and plate with toppings
- Optional: Top with mozzarella and put under broiler for 2 minutes
Optional toppings:
- Bacon, sausage, jalapeno, banana peppers, diced tomato, black olives, diced onion, capicola, mozzarella, gorgonzola, etc
Muffin Pancakes
- Mix up pancake batter – any method
- Spray muffin pan
- Put batter in 3/4 of the way up
- Cook 400º for about 15 minutes
- Turn out muffins and put in apples sauteed in butter and brown sugar
- Add some heavy cream
- Reduce to a sauce
- Top with apples, and serve with syrup
- Top with grandpa’s CinnaSugar
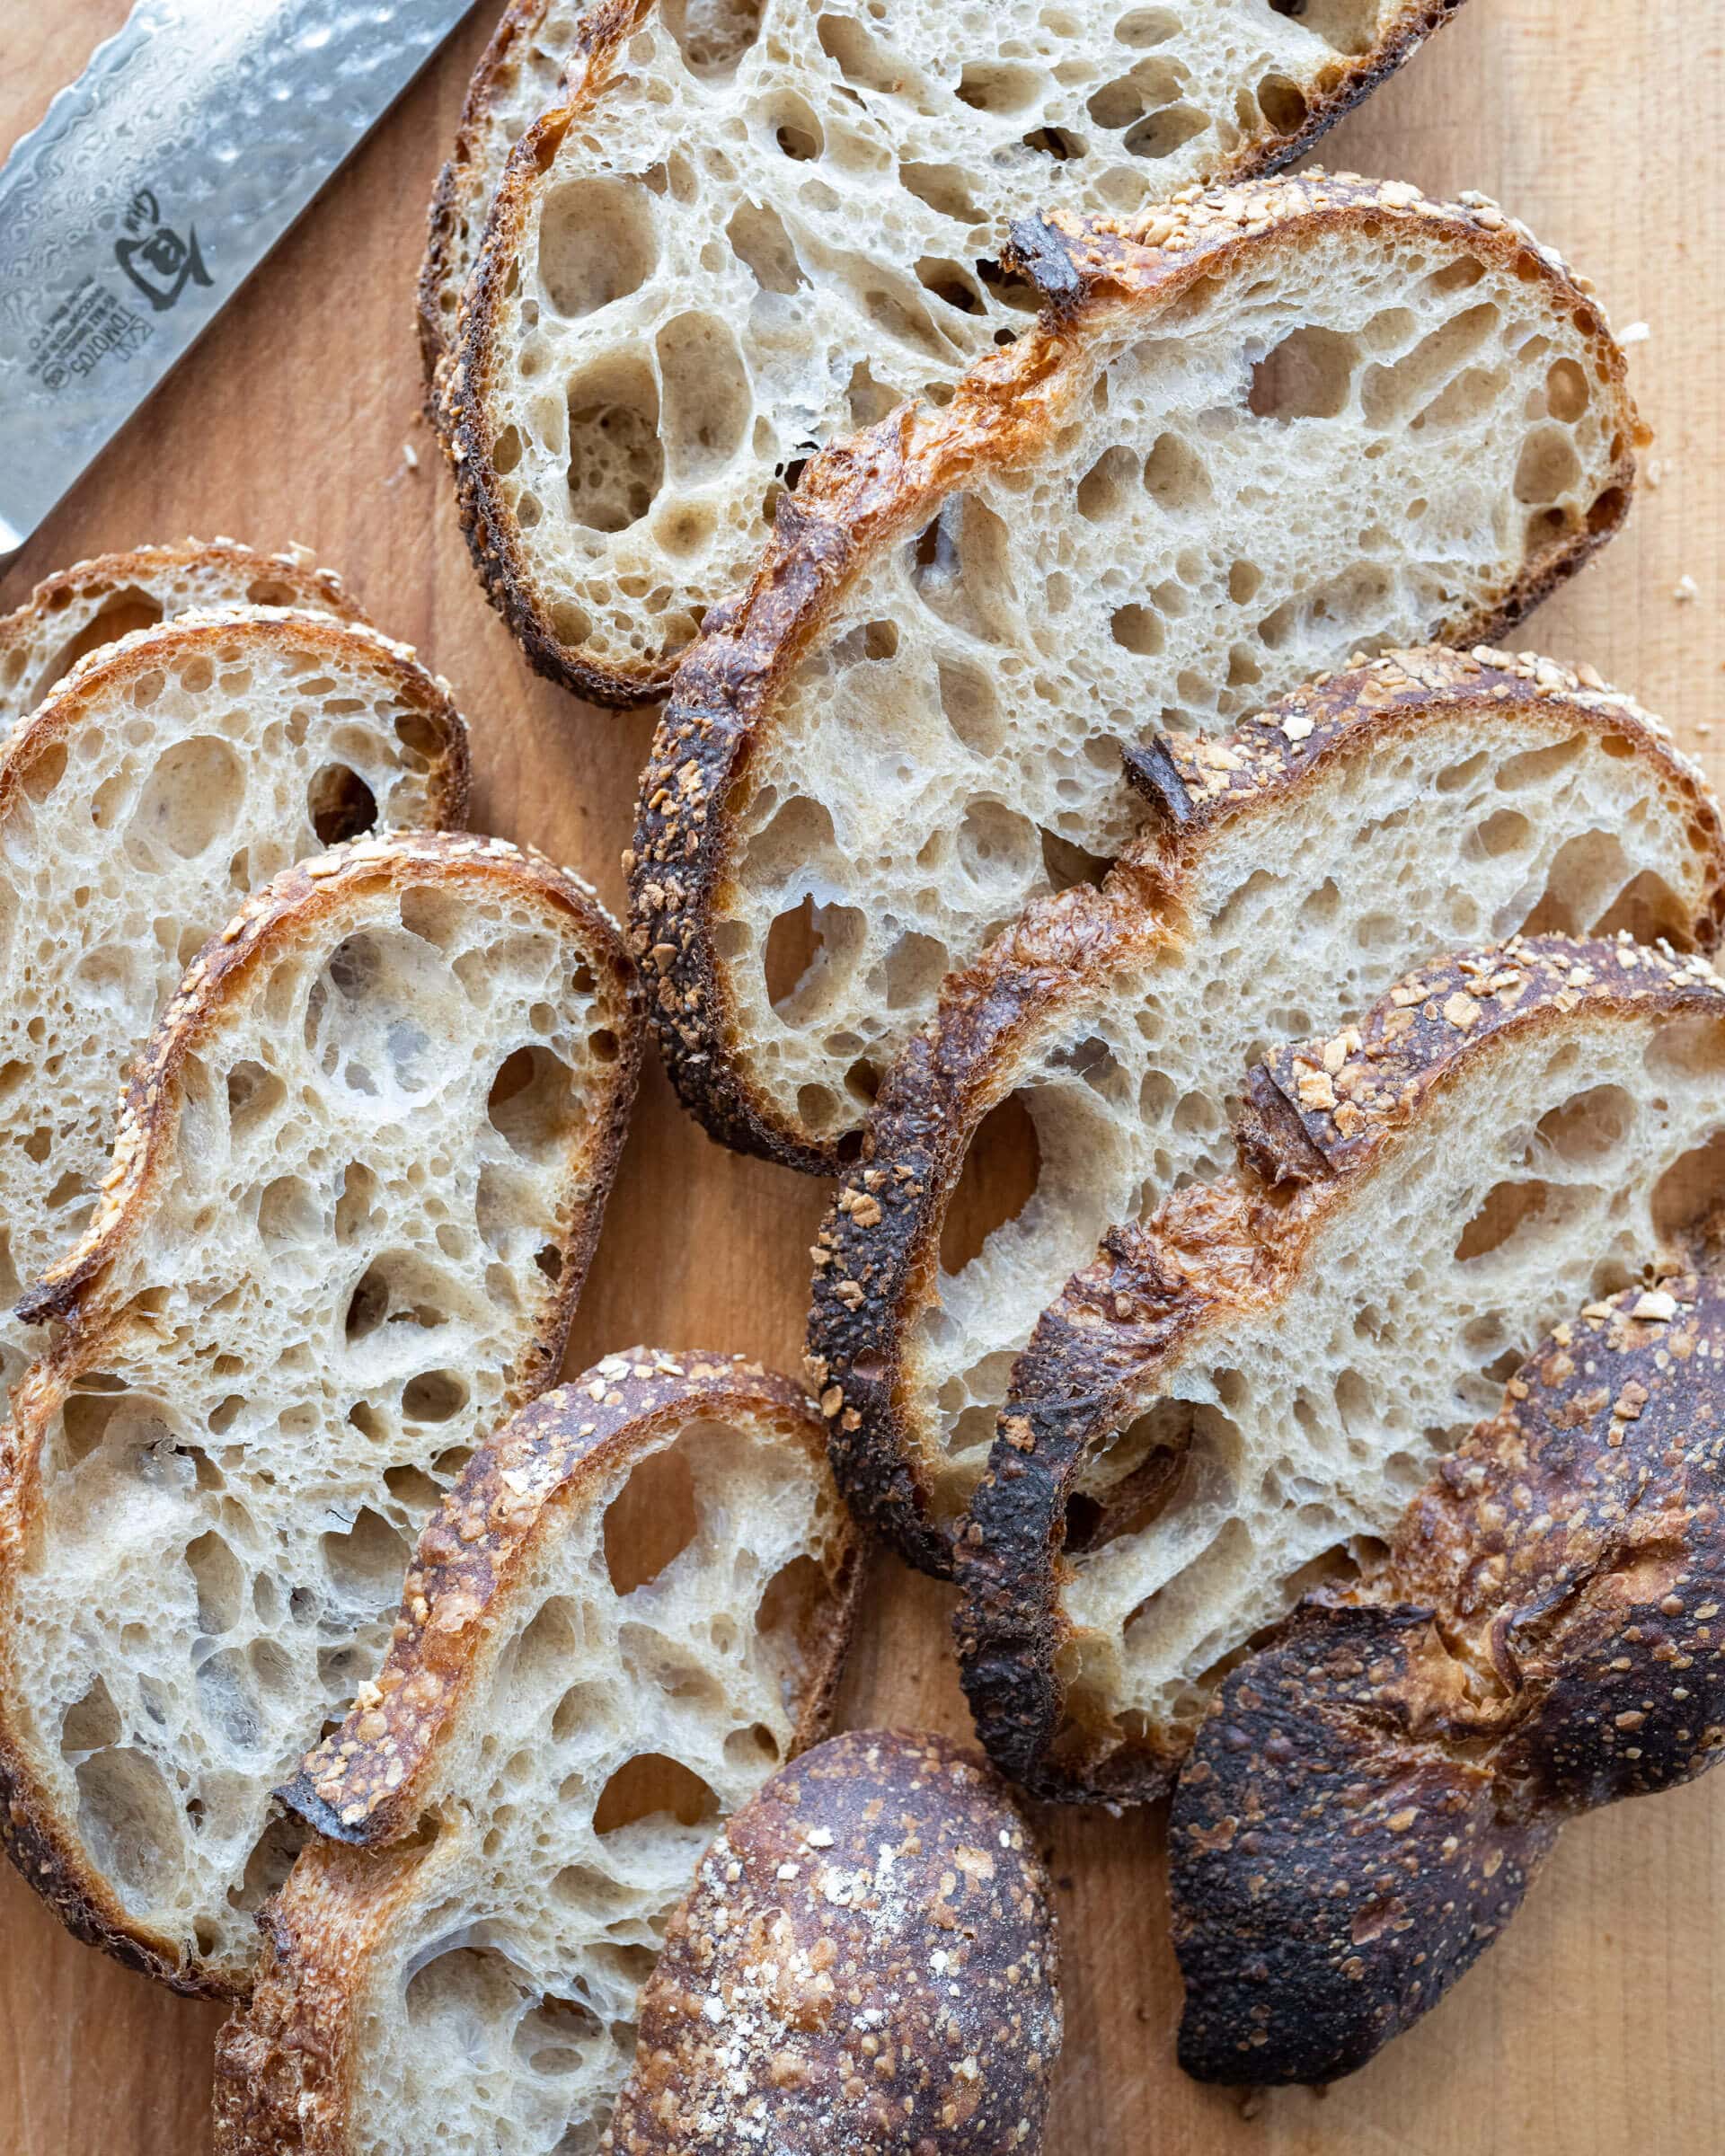
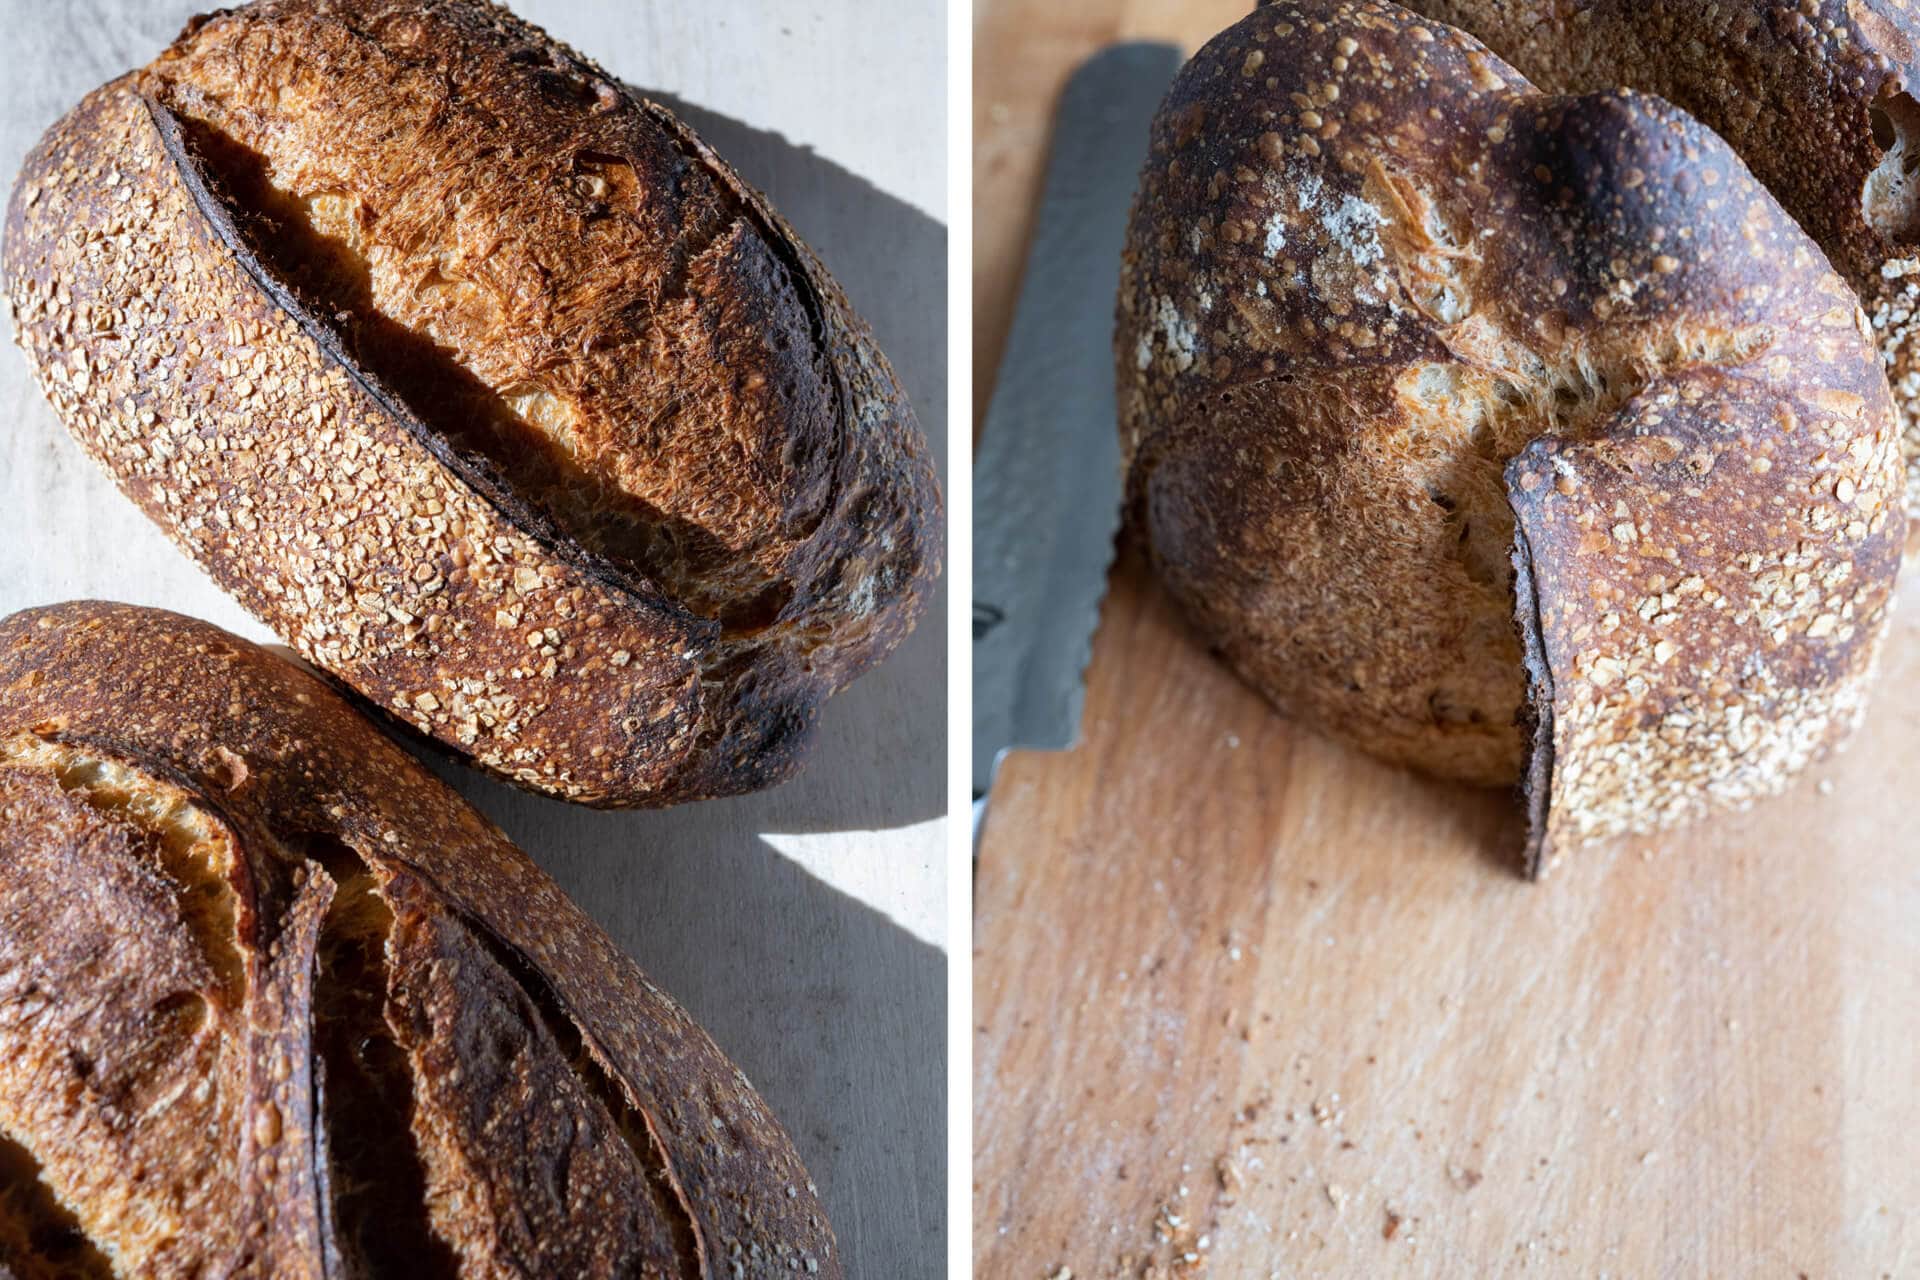
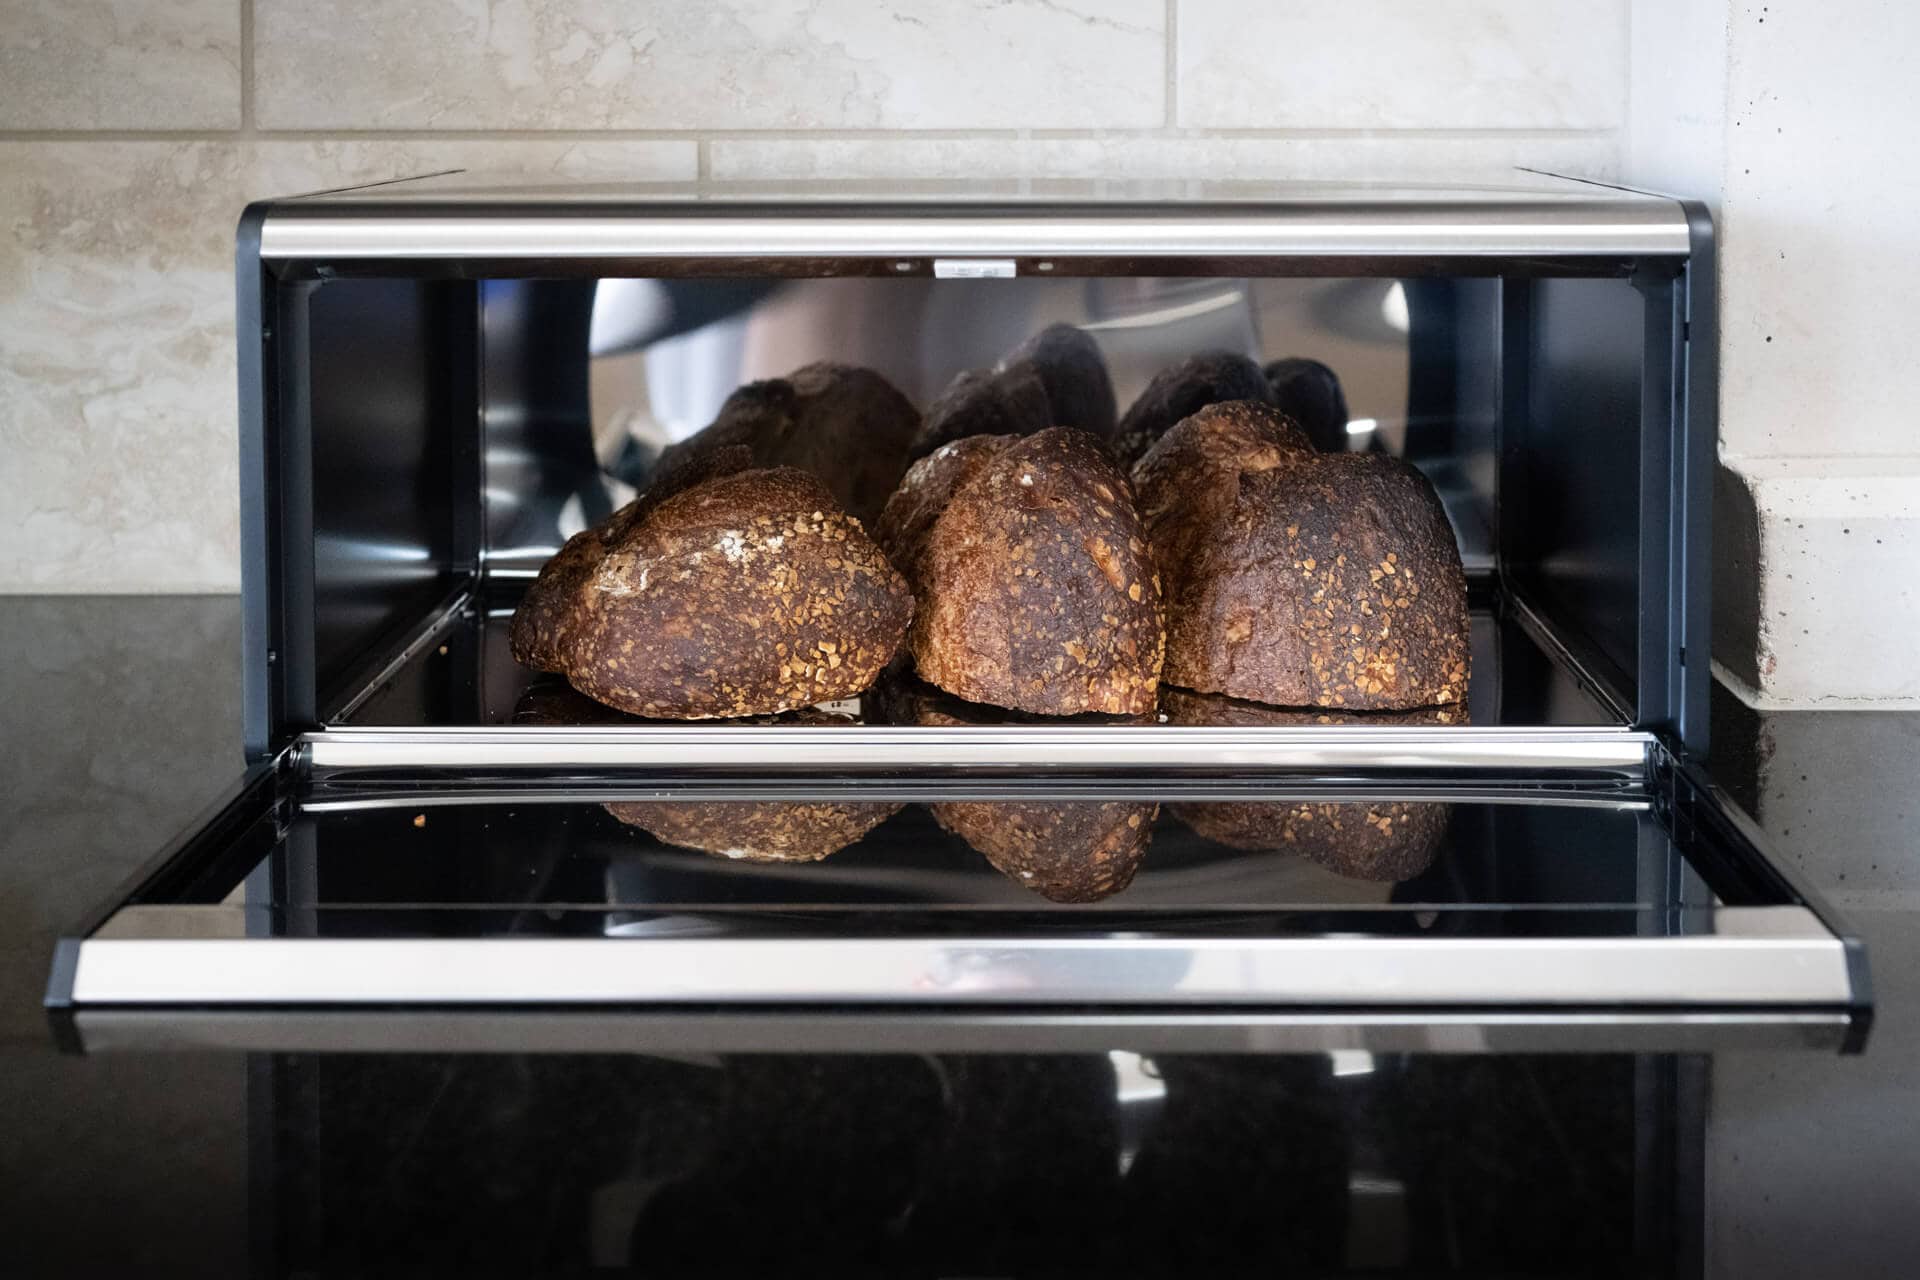
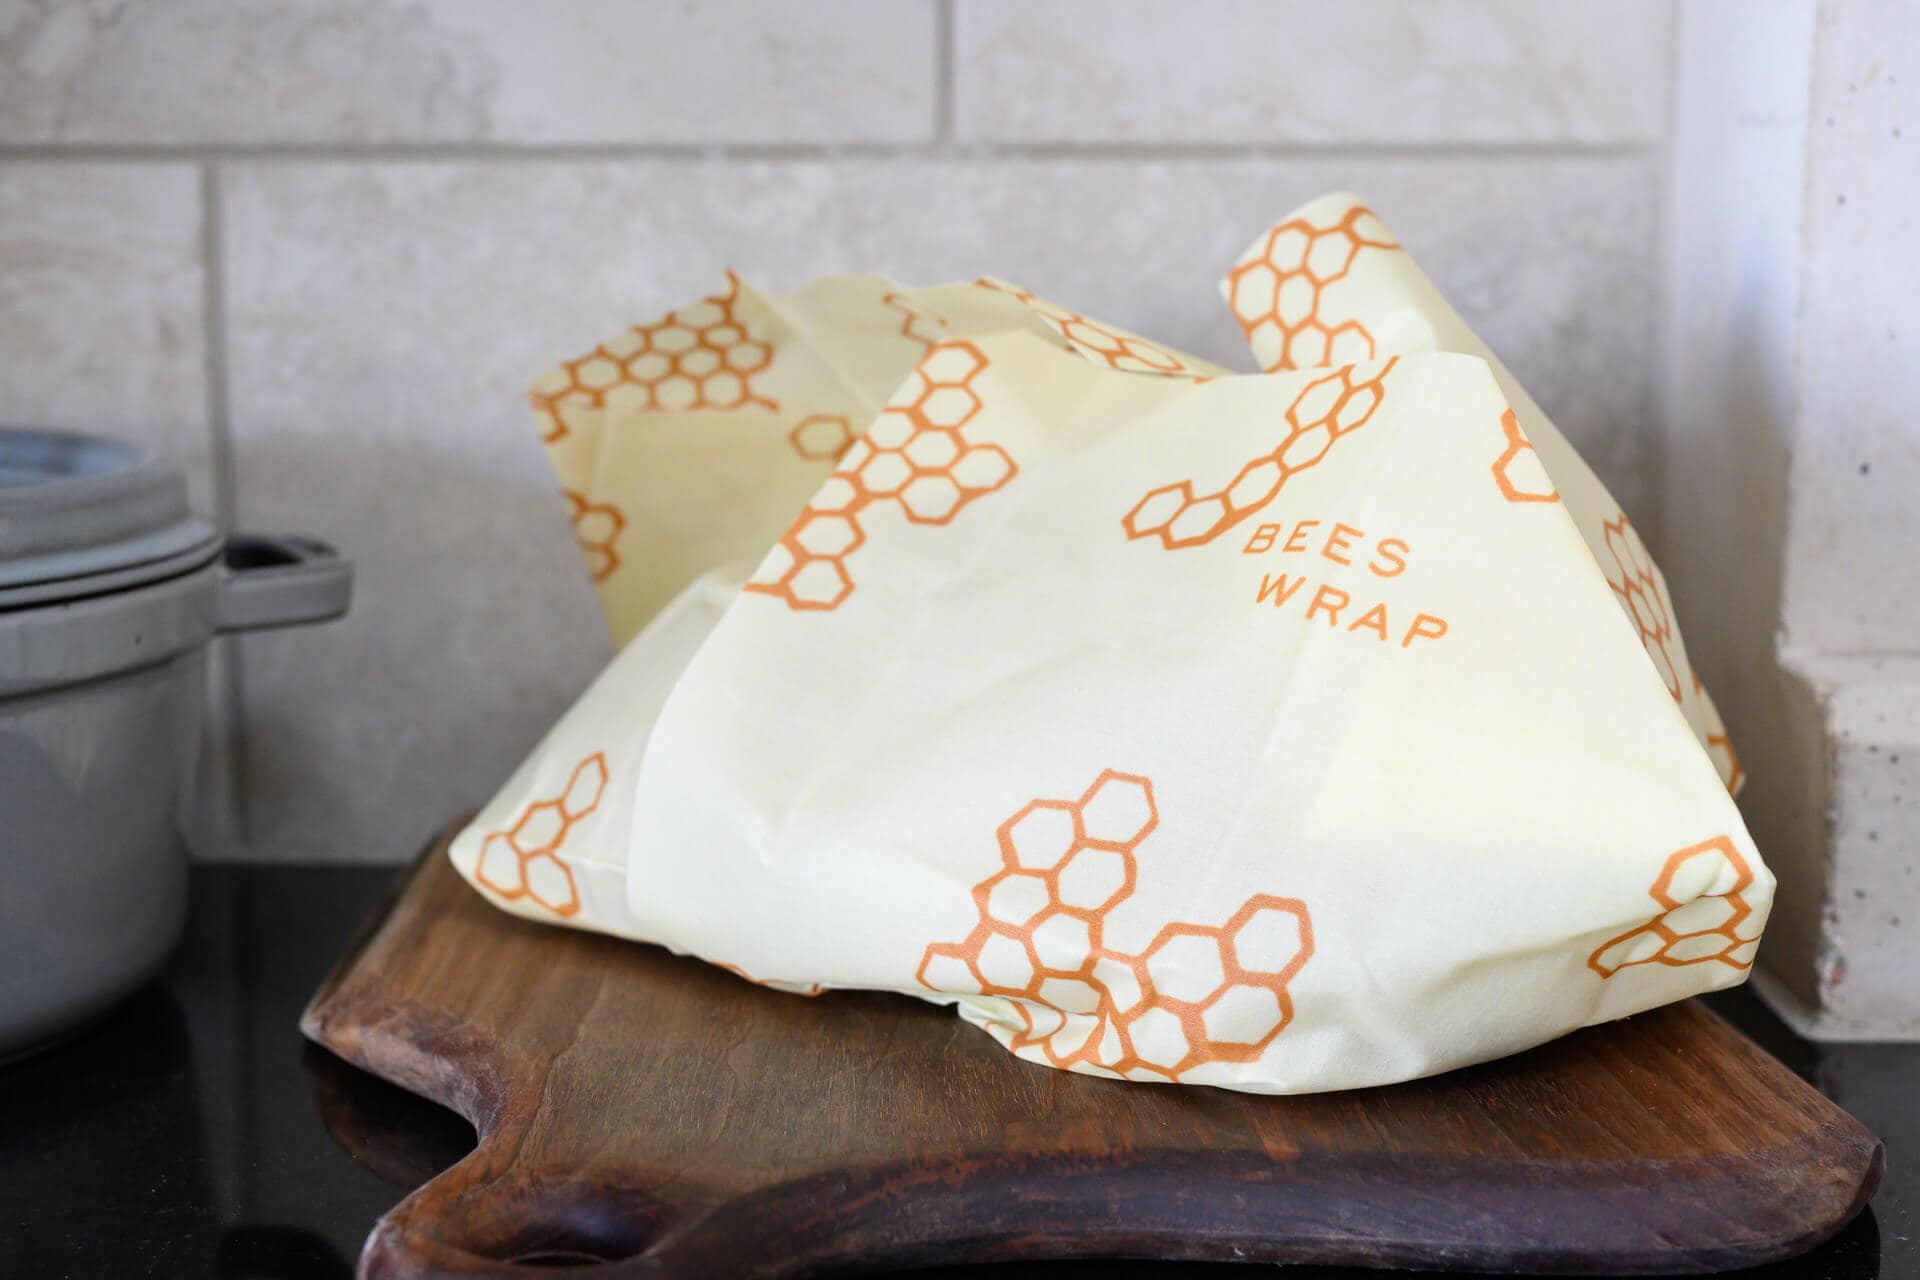
The Best Way to Store Bread
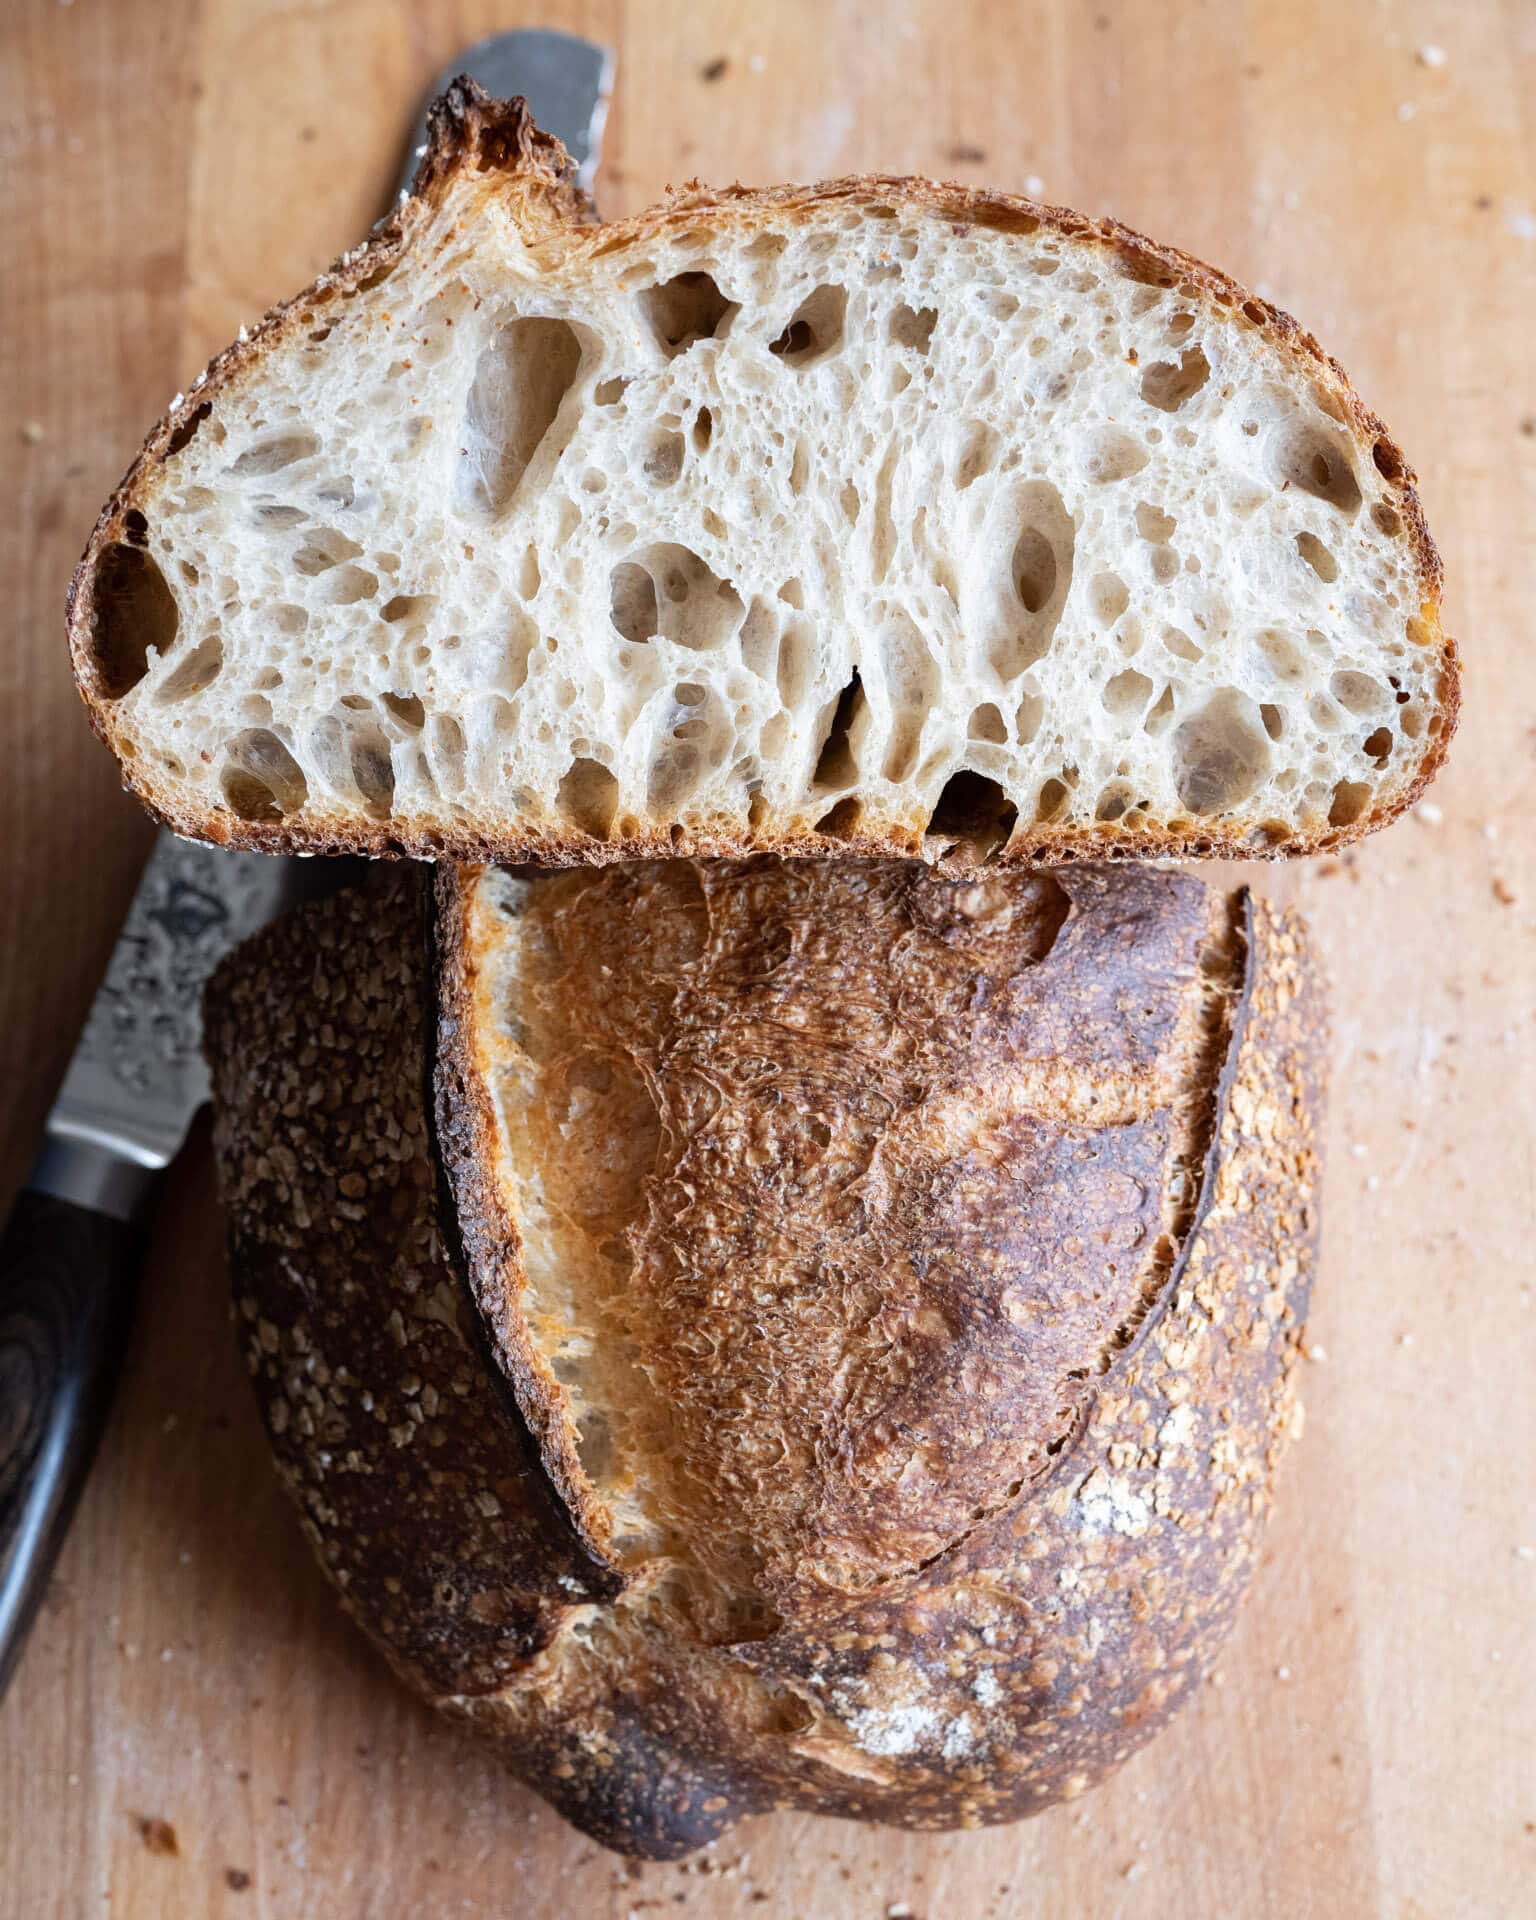
The acidification of the dough by lactic acid bacteria in our sourdough starter and other physical-chemical changes during the breadmaking process help protect against premature bread firming and drying. Additionally, these acids also help prevent molding, and in my experience (and also that of the WSU Bread Lab), usually keep a loaf perfectly edible for a week or more—all without any chemical preservatives.
The Science: from baking to staling
Before we get into solutions for the best way to store bread, we should first briefly talk about stale bread: no one’s favorite, unless we’re making French toast, ribollita, bruschetta, or bread crumbs and croutons, of course. But what happens behind the scenes when the dough is baked, left to cool, and on its way to staleness?
If you’re not interested in a brief scientific basis for staling, skip to the next section.
As bread dough is baking, the starch granules (which wheat flour is primarily composed of) gelatinize. When they gelatinize, they swell from the moisture in the dough, and their rigid, crystalline structure transforms into a non-crystalline (amorphous) form (very similar to what happens when you make a tangzhong or yudane). When the baked loaf is removed from the oven, it begins to cool. From this point on, the crust and crumb begin to harden over time as starch (and most significantly, amylopectin) undergo retrogradation, a re-ordering into a crystalline form.
This retrogradation means a hardening of the crumb as moisture moves out from the starches, eventually taking a loaf of bread from soft and pliable to excessively hard and what we identify as stale. Other processes begin to take effect with the crust as well, as it begins drawing moisture out from the crumb into itself, making the crust rugged and leathery.
In general, staling can be reversed somewhat by reheating the bread to sufficient temperature (140°F / 60°C) but it can’t completely reverse the effects of staling, and the results from heating will only last a short time. You can see this directly in your kitchen: reheat a slice of stale bread in the oven or toaster and you’ll think you almost have a slice of fresh-baked bread on your plate—for a few minutes at least.
It’s also worth knowing that doughs containing some percentage of fats (lipids) will typically last longer before staling. The fat present in the dough slows the re-crystallization of the starch granules and reduces the movement of moisture between starches and proteins (de-gelatinization) which causes the crumb to harden.
Stovetop Smoker
To buy one from Amazon, use the link above.
Otherwise:
- Use a cast iron wok and put about 1 C of Alderwood or Hickory chips into the bottom.
This is from a cooking show with Christoper Cross and Julia Child.
This is a flow while watching. This needs to be debugged before you use it.
- Cut all fat off your beef loin – NY Strip Loin
- Cut into 1 pound chunks
- Put a grate over the chips, then put the meat onto the grate
- Cover and cook on medium high for about 15 mintes
- Sprinkle lightly with truffle oil or olive oil
- Wrap and refrigerate 24 hours
Wheat Berries, Quinoa, Farecki
- Separate to remove sticks, stones and chaff
- Wash and rinse 2 C grain
- Add 2 TBL EVOO
- Add the grain
- Toss to coat
- Add chopped garlic
- Add chopped scallops
- Add another 2 TBL EVOO
- Add 2 C warm chicken stock
- Cover with paper round and simmer for 45 minutes
- COOK HARISSA
- Roasted peppers – till starts to blacken
- Remove seeds, pit and veins
- Put into blender with garlic and onion
- Puree
- Add EVOO to thin if necessary
- SEASON GRAIN
- ADD 2 TBL Harissa and some sale
- Finish with chopped chives.
- PREPARE SHALLOTS
- Simmer in 1 C broth or stock for 30 minutes
- Pour off most of liquid
- Chop and put back into skillet with some thyme
- Chop shallots
- Add 2 TBL butter and some salt and pepper
-
- 4-1-1 POTATOES
- Food mill one large potato
- 1 potato, 1 stick butter, 5 egg whites
- salt and pepper
- Put mixture into stencil, then flatten
- season with thyme
- Put into oven 350º till golden brown – about 10 minutes
- COOK YOUR MEAT ON ALL SIDES
- Salt and pepper your loins, then put into hot cast iron skillet
- Add 1/4 C EVOO and put into hot pan
- Sear all sides
- Discard hot oil – carefully
- Add garlic, shallots, and peppercorns
- Deglaze with drinkable red wine – about 1 C
- Pour every bit of fond into glaze
- Drain through strainer
- At the last minute add butter and thick cream
Let meat rest for at least 10 minutes before cutting
Plate grain, then thin slides of meat, a shallot with shallot sauce, and red wine sauce over the meat.
Top with your onions/shallots, and top with your potato petals.
Jeff’s Cure
This is a dry rub frequently used by Jeff Smedstad. Usually I make modifications. I’ve not made modifications this this mix, in deference to Jeff’s culinary expertise. Since he did not say the amounts, I’ve created the amounts for each ingredient. Tailor my ingredients to your own tastes.
If you are ever in Sedona, please stop by and visit his resutaurant Elote Cafe in Arizona. It is an experience NOT to be missed.
This is Jeff’s cure that he uses for chicken, fish, pork and beef. If possible, coat meat and refrigerate overnight.
- 1 TBL Allspice
- 1 TBL Cumin
- 1 TBL Dried Ancho Chili powder
- 1 TBL Granulated Garlic or Garlic Powder
- 2 tsp Black Pepper
- 1/2 C Brown Sugar
- 1/4 C Salt
If I were to change anything, it would be for my own particular palate.
I would replace the Ancho Chili with granulated Cayenne Pepper. I would also add 1 TBL onion powder.
Jalapeno Popper Egg
- Prepare and sautee Vegetables
- Onion
- Jalapeno
- Prepared Spinach
- Set vegetables aside to cool
- Make egg mixture
- 3 Eggs
- 3 extra egg whites
- 1/2 C shredded cheese
- 1/4 C bacon of shredded chicken
- 1/4 tsp garlic powder
- salt and pepper to taste
- 1/2 C cottage cheese
- Add in your vegetables
- Mix to combine and pour into non-stick oven-safe skillet
- Put 350º for 30-45 minutes
- Serve with toasted English muffins
Chicken Tamale Casserole
-
- In a small Cast Iron Skillet
- 1 C Cooked and Shredded Chicken
- 1/2 C Chicken Stock
- 1/4 C Salsa
- 1/4 C Corn
- 1/4 C Beans
- 2 TBL Scallions
- Heat all together on medium high
- In a soup pan combine and heat
- 1/2 C chicken stock
- 1/2 C corn meal
- 1/4 C Cheese
- 1/4 C Green Chili
- 1/4 C Butter
- Cook corn meal mixture until combined
- Put topping onto the shredded chicken
- Sprinkle with 1/4 C cheese
- Bake 400º for 20-30 minutes
- Serve with a spoon onto plates
Ooey Gooey Blondies
- ½ C melted butter
- 1 C light brown sugar
- 1 tsp vanilla
- 1 tsp almond extract
- 2 eeg yolks
- ½ C flour
- ¼ C almond flour
- 1 tsp baking powder
- Combine wet and dry ingredients
- ½ C pulverized or finely chopped pecans
- Put into baking pan with parchment paper – greased
- Flatten mixture
- 350º for 20 minutes
Choc Peanut Candy Bars
- Combine 3 C Chocolate Morsels and 2 TBL salted butter
- Melt chocolate mixture in a double boiler
- Meanwhile prepare a baking pan with parchment paper
- Pour half into the pan – smooth
- Prepare filling – combine
- 1 C marshmallow
- 1/2 C peanut butter
- 3 C powdered sugar
- 2 TBL melted butter
- Press into the pan over top of the chocolate layer
- Add a thin layer of salted roasted peanuts
- Melt 1-2 C caramels in a pan with 2 TBL butter
- Pour caramel over top of the peanuts and spread flat
- Add the remainder of the chocolate
- Sprinkle lightly with Maldon salt
- Refrigerate 1 hour, then cut into bars
- Wrap bars in waxed paper or parchment paper

